|
|
Here are our photos of our bathroom tile installation.
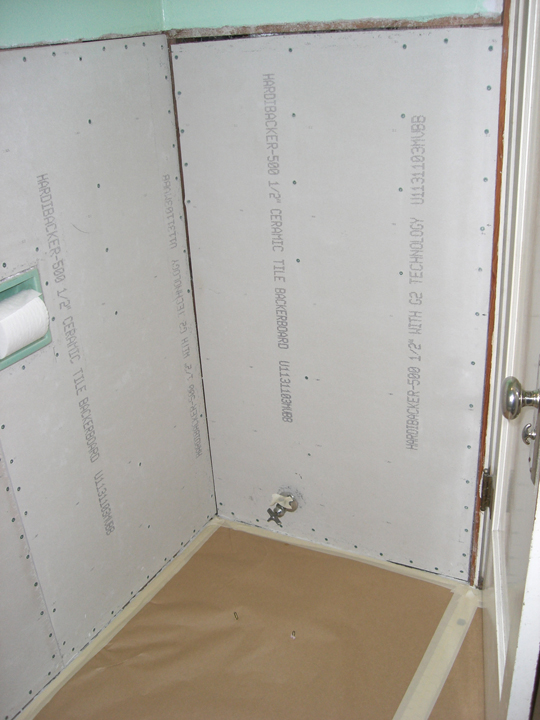
We inherited a gutted bathroom, right
down to the studs. So, we got Hardibacker up fairly soon after we
moved in, but the walls languished for several years unfinished. (For
the earlier saga of the bathroom floor tile, click here.)
Finally, the opportunity arose to get some tile on the wall when an old college buddy visited after Christmas. (Note that you too might be recruited if you stay any length of time with us.) Neither of us had done tile before, but a little inexperience has never deterred. First task was to remove any fixtures that were in the way and then to cover the floor with heavy paper. Tile work is messy business! Then we wiped down the old Hardibacker with a damp cloth to make sure it was clean and dust-free. Made sure the Hardibacker was well screwed down and that there were no raised screw heads. (Click on a photo to get a larger image. Hover pointer to get a description of the picture. Photos were taken between December 2007 and March 2008.)
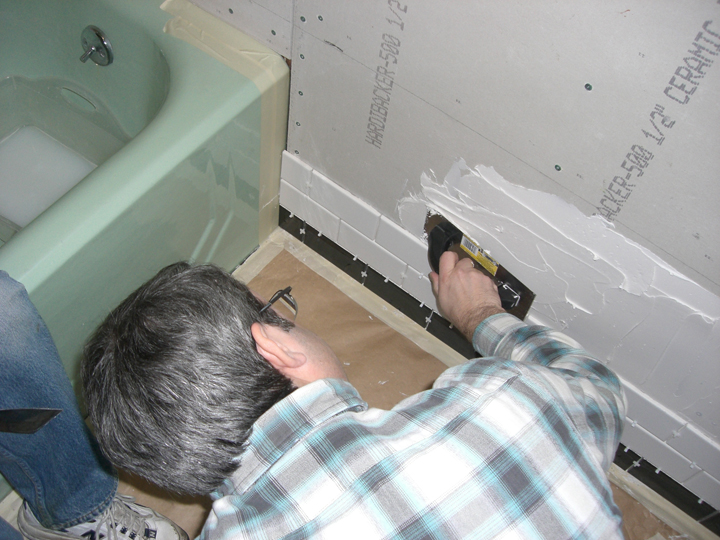
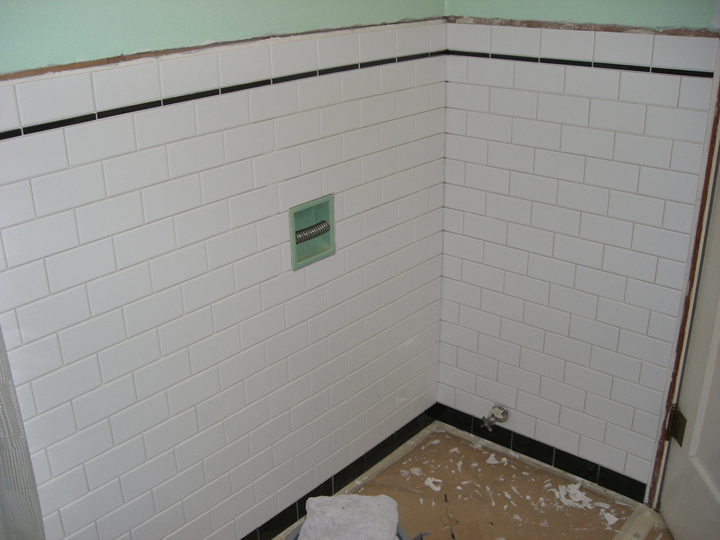
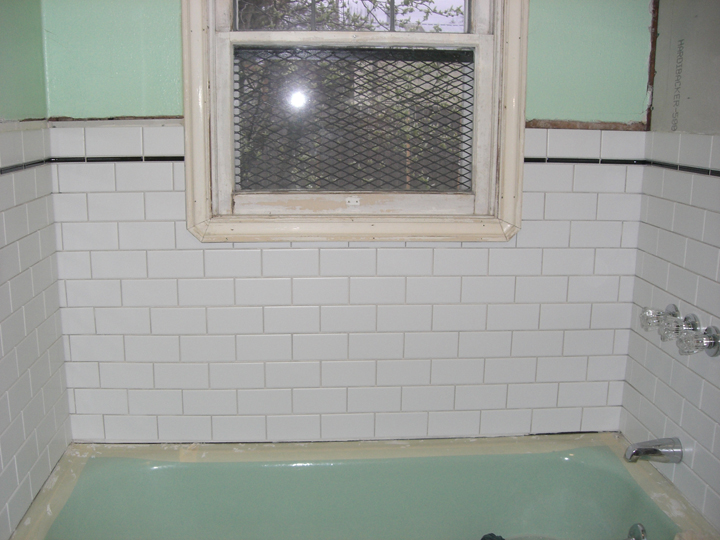
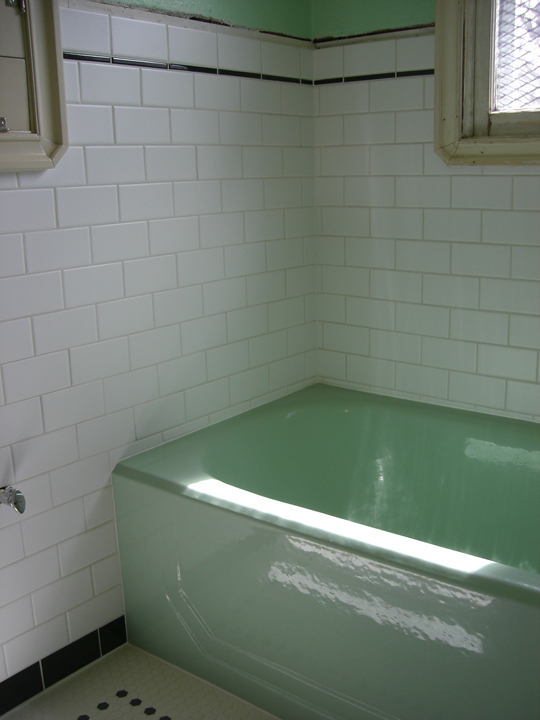
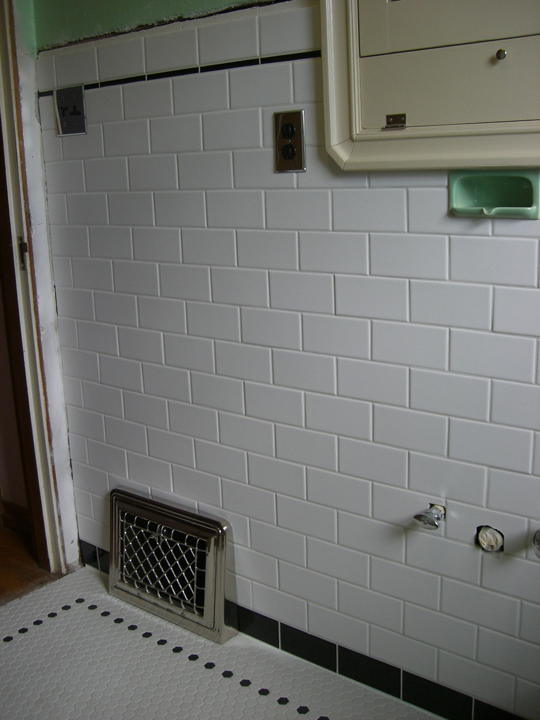
We drew a horizontal line and a vertical line to get started on the wall. We laid our horizontal line three courses from the floor because we wanted a full black base course with no horizontal cuts. We wrapped the line all the way around the room to make sure the floor was the right distance from bottom course. (This is an irregular 1930 house.) Books recommend drawing your first lines in the center of the wall but we had a strong desire for full courses and a full corner. Better to spend time on prep than prying off tile. Once the lines were figured out, the rest of the job was pretty easy though time consuming. Apply a blob of tile mastic and spread it around to an approximate 1/8" thickness.
Trowel the mastic with a 1/8" tooth. The mastic we used had a 20 minute work time, so we did about four courses at a time depending on how many tiles needed to be cut. More fancy cuts, the fewer courses we could do at a time. We used a tile saw to cut the tile as the back of our subway tiles had raised ridges that prevented it from being cut and snapped with a tile cutter. A tile saw caused a tiny bit of chipping to the glaze at the cut that the tile cutter didn't, but we had no choice.
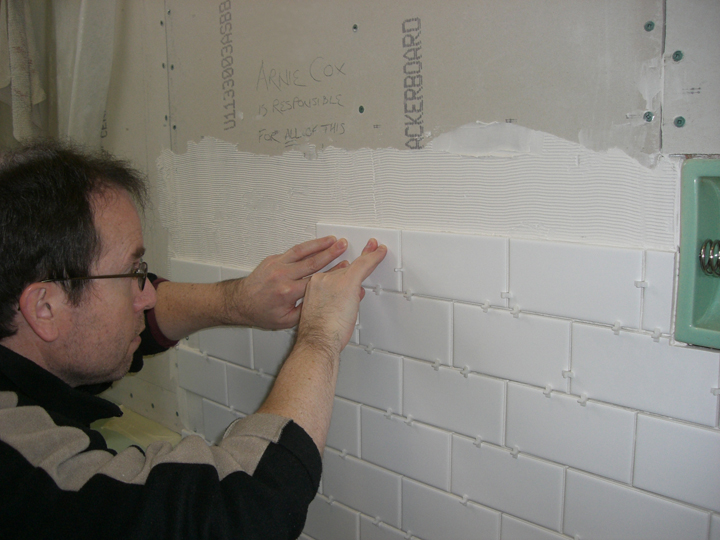
We stuck the tiles on the mastic and then slid them about a 1/4" into place so we got good mastic coverage on the back of the tile. We pressed very firmly to seat the tile. We used 1/8" tile spacers. After about ten minutes, the tiles were pretty much impossible to move without prying.
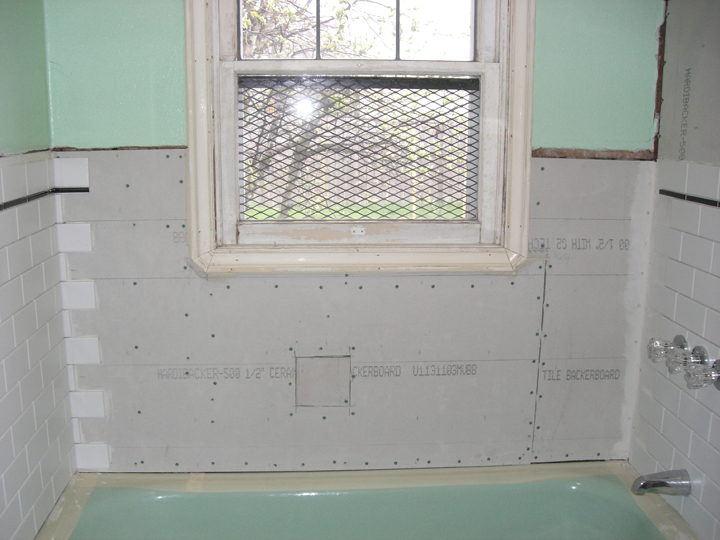
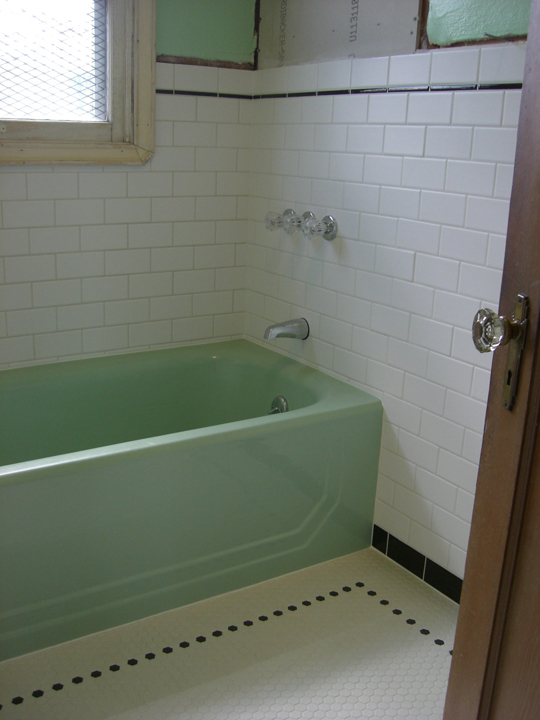
The curious horizontal joint between plaster and tile will be covered with a white-painted board on which we will mount our glass towel rods. Not the best solution, but the best we can do with our irregular depths between the Hardibacker and the existing plaster. Should work, fingers crossed.
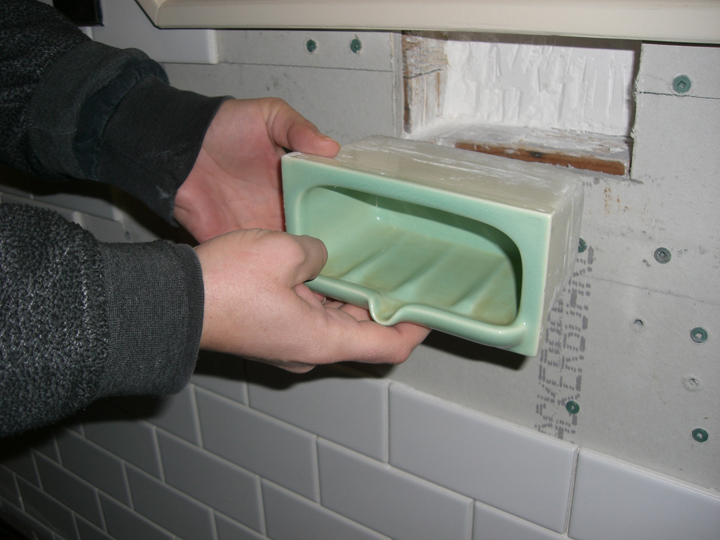
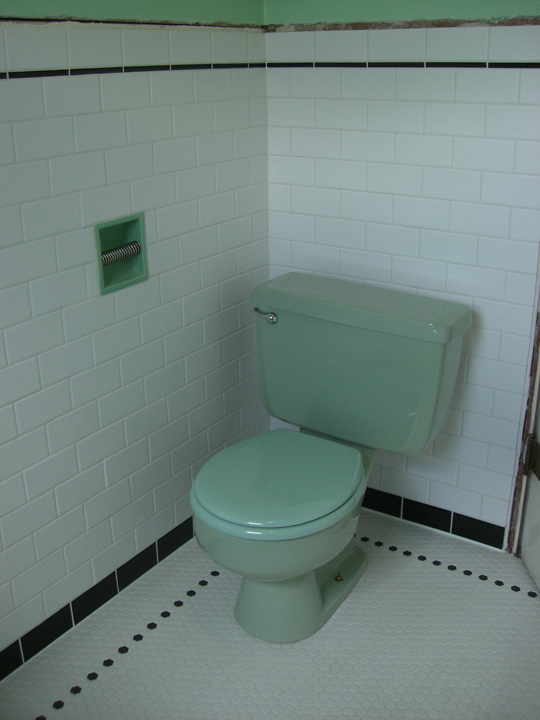
We have two of the three original seafoam green wall inserts. We're missing the tub's soap holder but we have the sink's soap holder and toilet paper holder. They match the seafoam green tub, toilet and sink.
We decided in the end to tile over the soap holder cavity. We had a period white one but it didn't quite fit, and since we didn't have a green one, we rationalized that no sense creating false history. I did put a note in the hole as a time capsule.
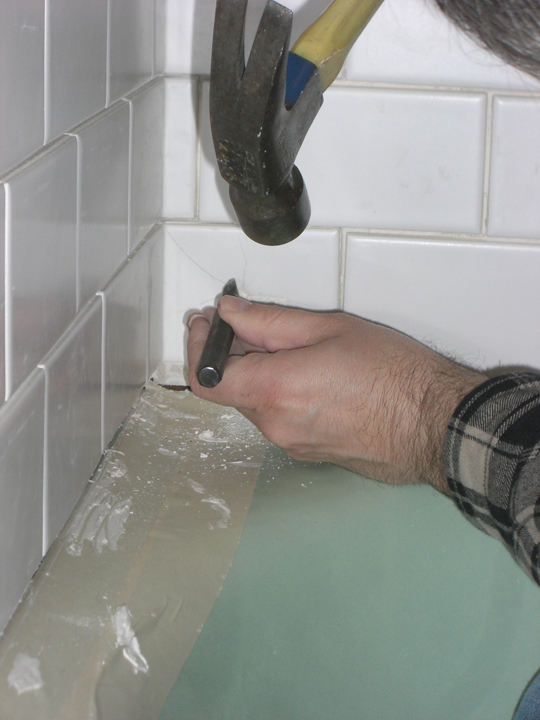
Once in a great while, a bad tile finds its way onto the wall or, as in this case, a tile goes up crooked. Once the mastic has set, there's no way to pry it off the Hardibacker, so breaking it out is the only solution.
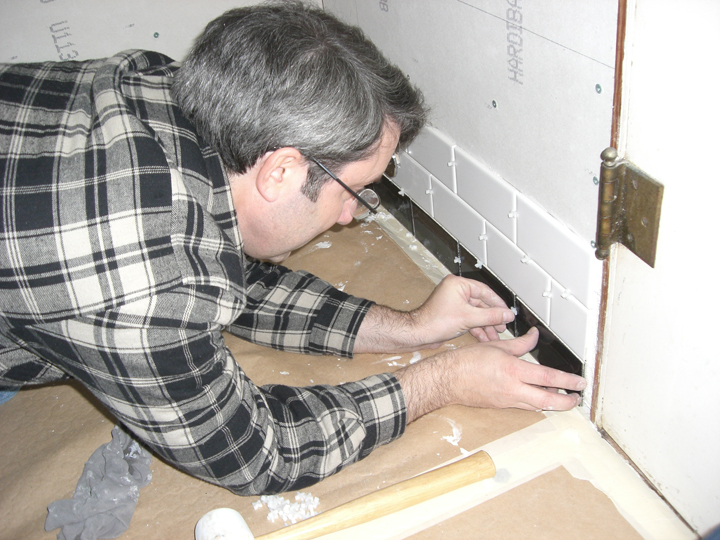
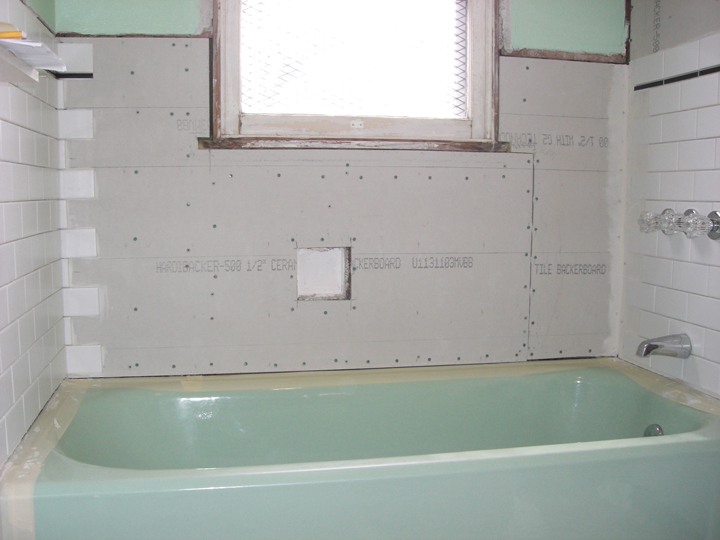
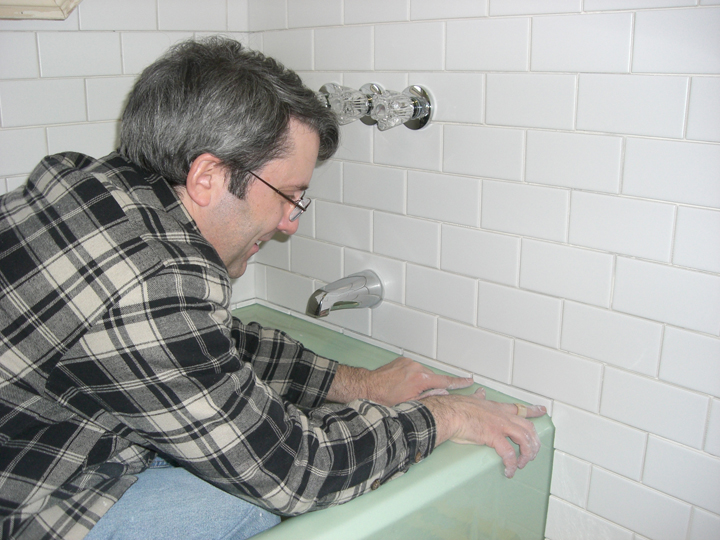
Between the tub and Hardibacker, we inserted a backer rod to support the caulk and to hold back any water that finds its way behind the caulk.
Inserting the last tile was a joyous occasion, though a false summit. There's still grouting to do, an incredibly laborious process.
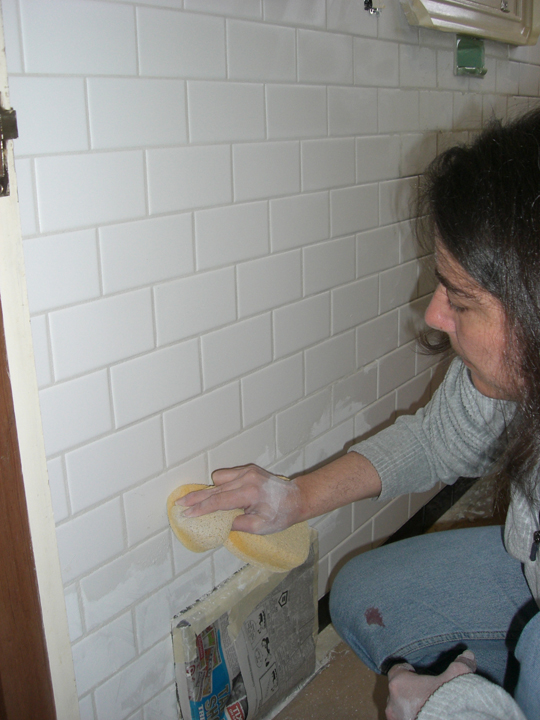
After the grout has had an hour to set, along comes the wiping of the grout to help pack it into the joint, even out the grout lines, and remove excess grout. An hour after that, there's more wiping to remove the grout haze off the tiles.
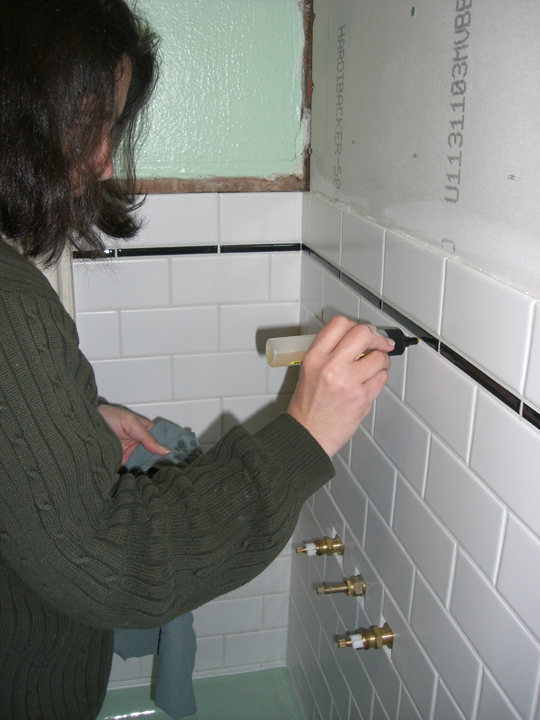
Then two days later, the grout needs to be sealed. Since our tiles have a semi-gloss sheen, we chose to seal only the joints with a special refillable pen with replaceable tips.
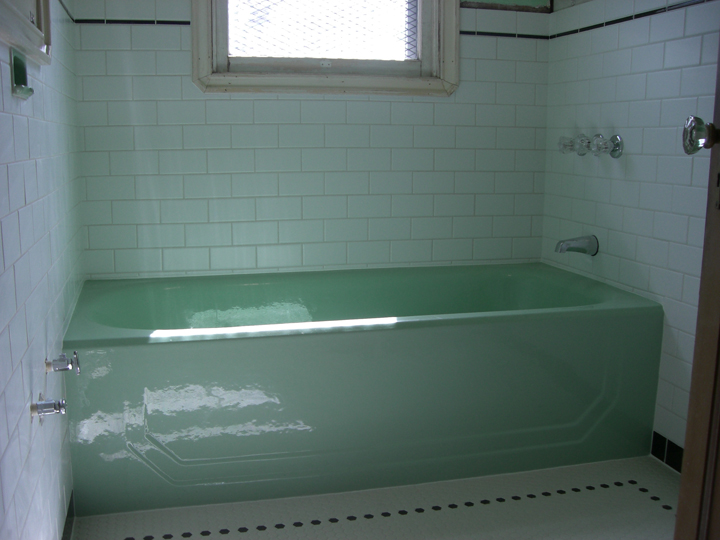
Once sealed, the corner and floor joints can be caulked, along with tub and wood trim. Caulking goes in these joints to make a flexible connection where there may be dissimilar expansion and contraction. Once caulked, the bathroom can be reassembled, ready for use once again. Most work I've ever done on a 5'x7' room!
Modified: 08/19/2015 |