|
|
Below are photos from our first
test painting of the exterior raked wood shingles in August 2006.
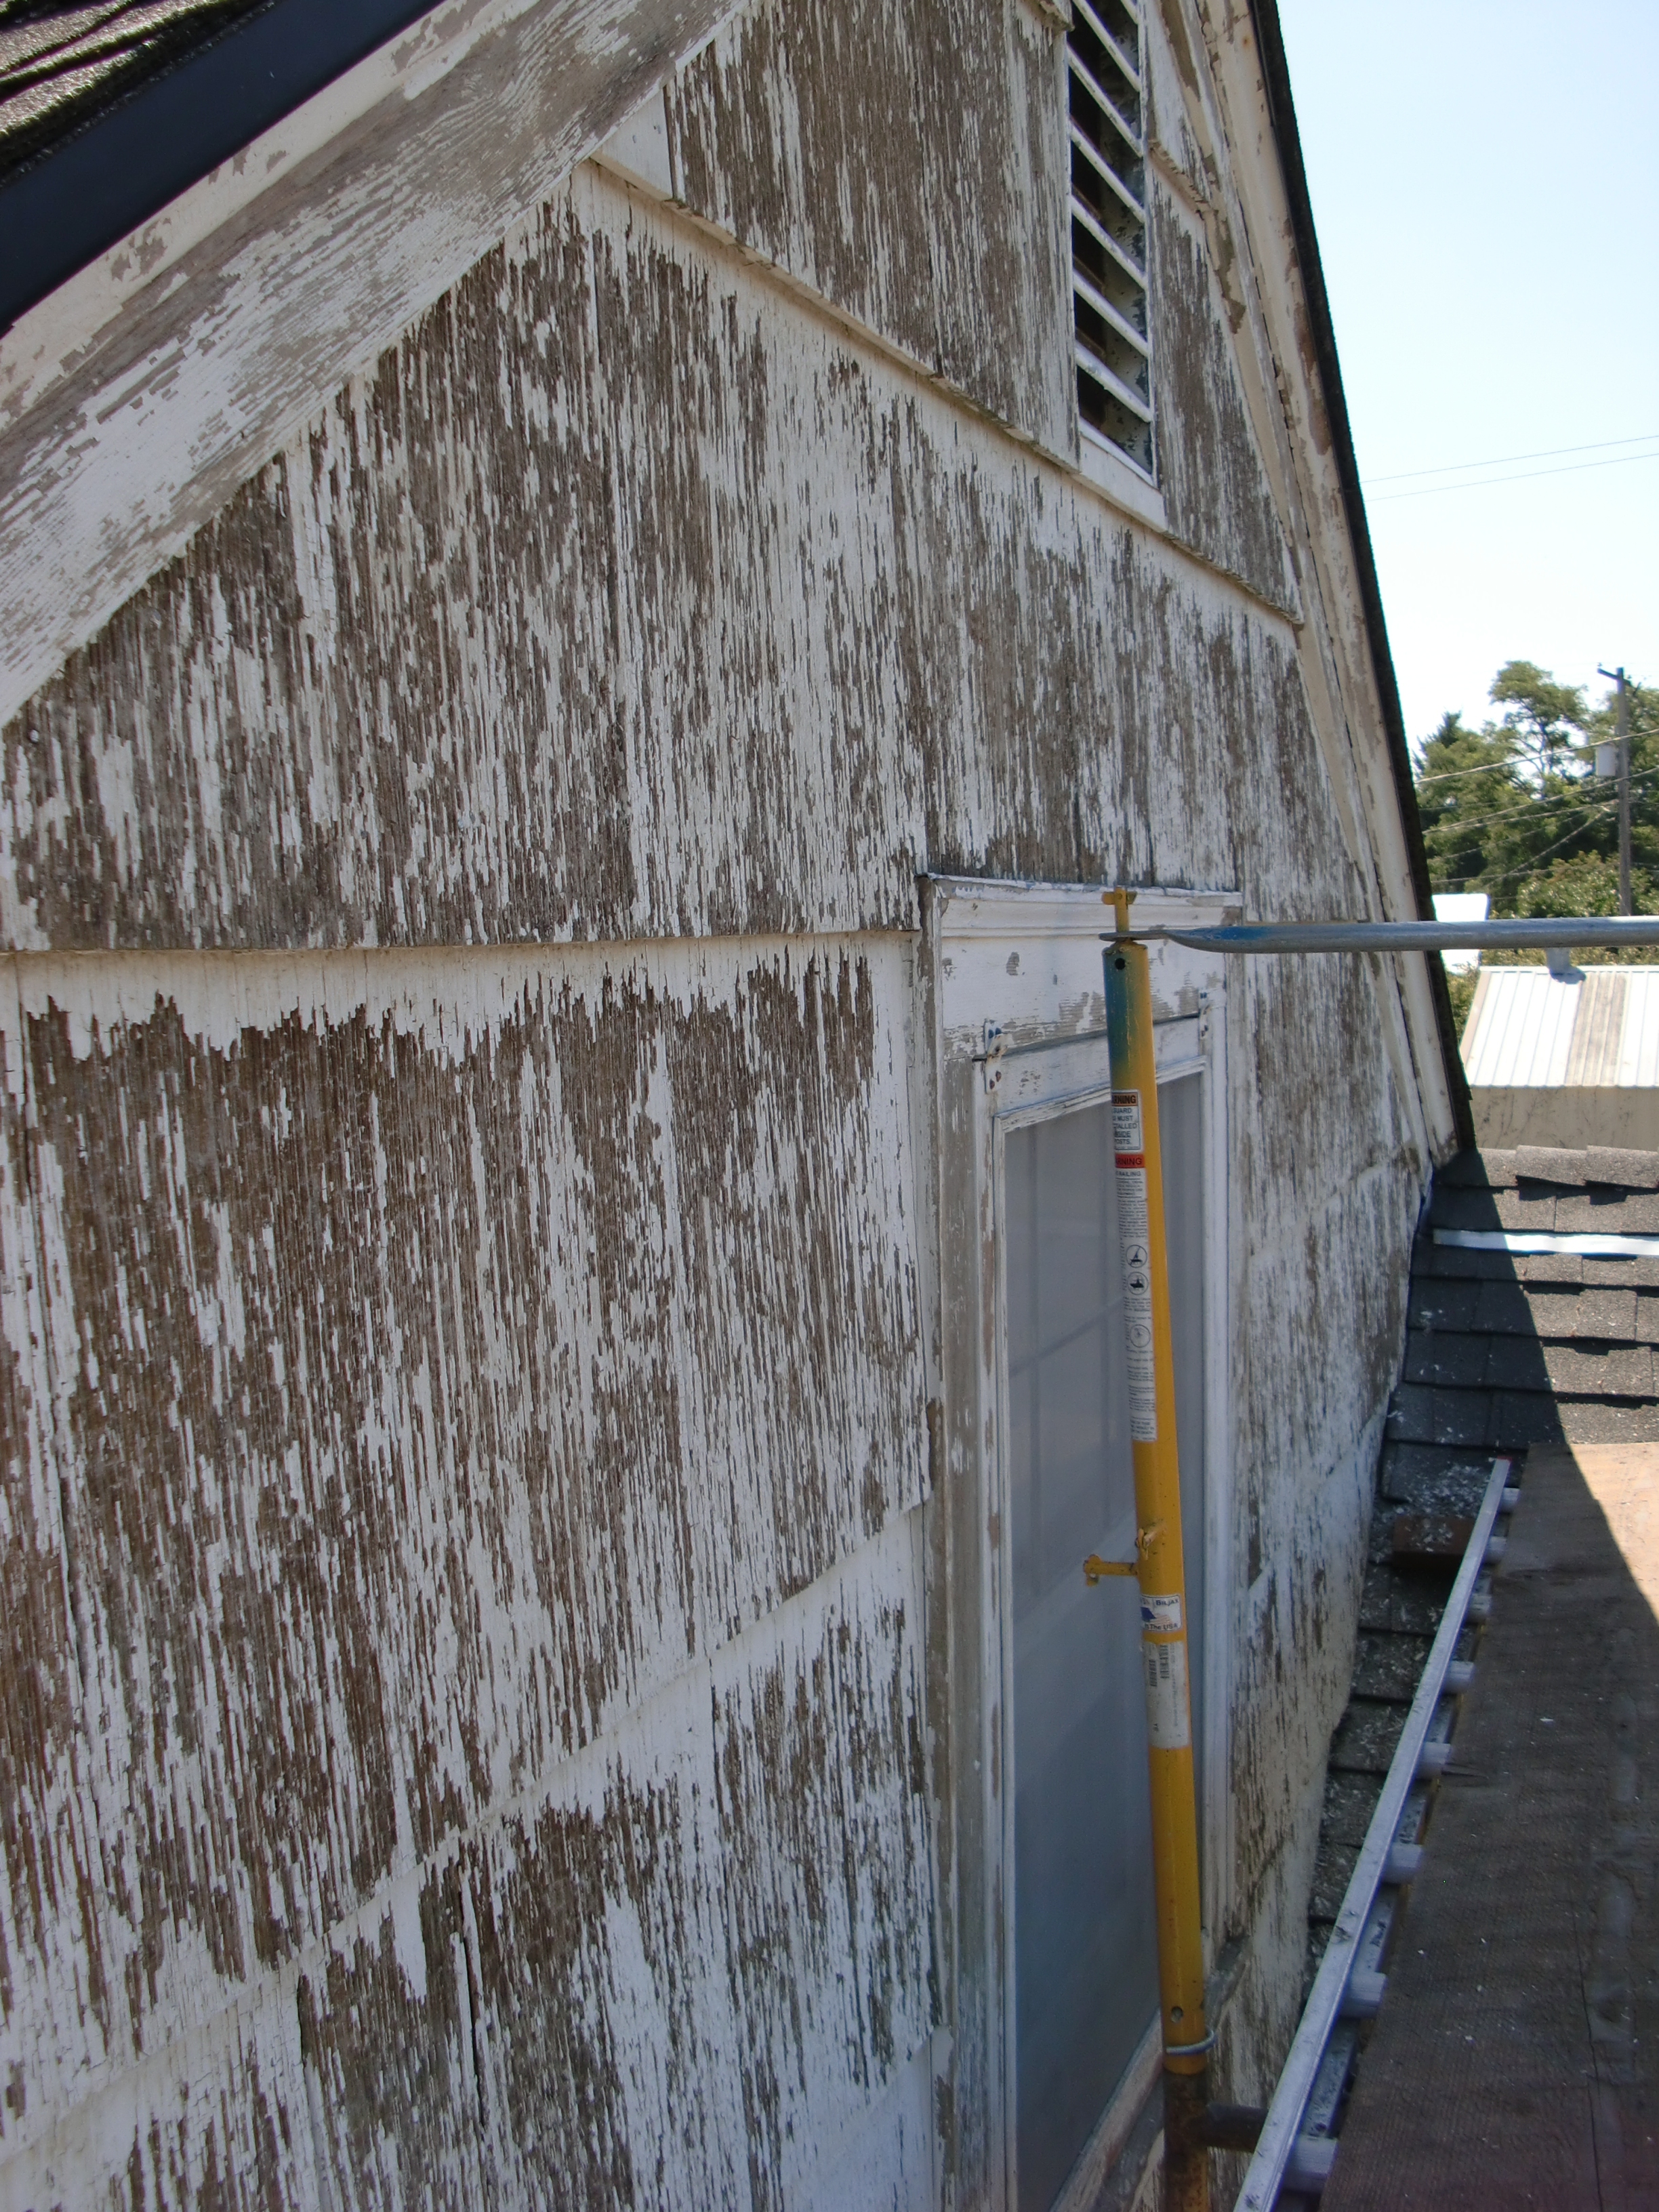
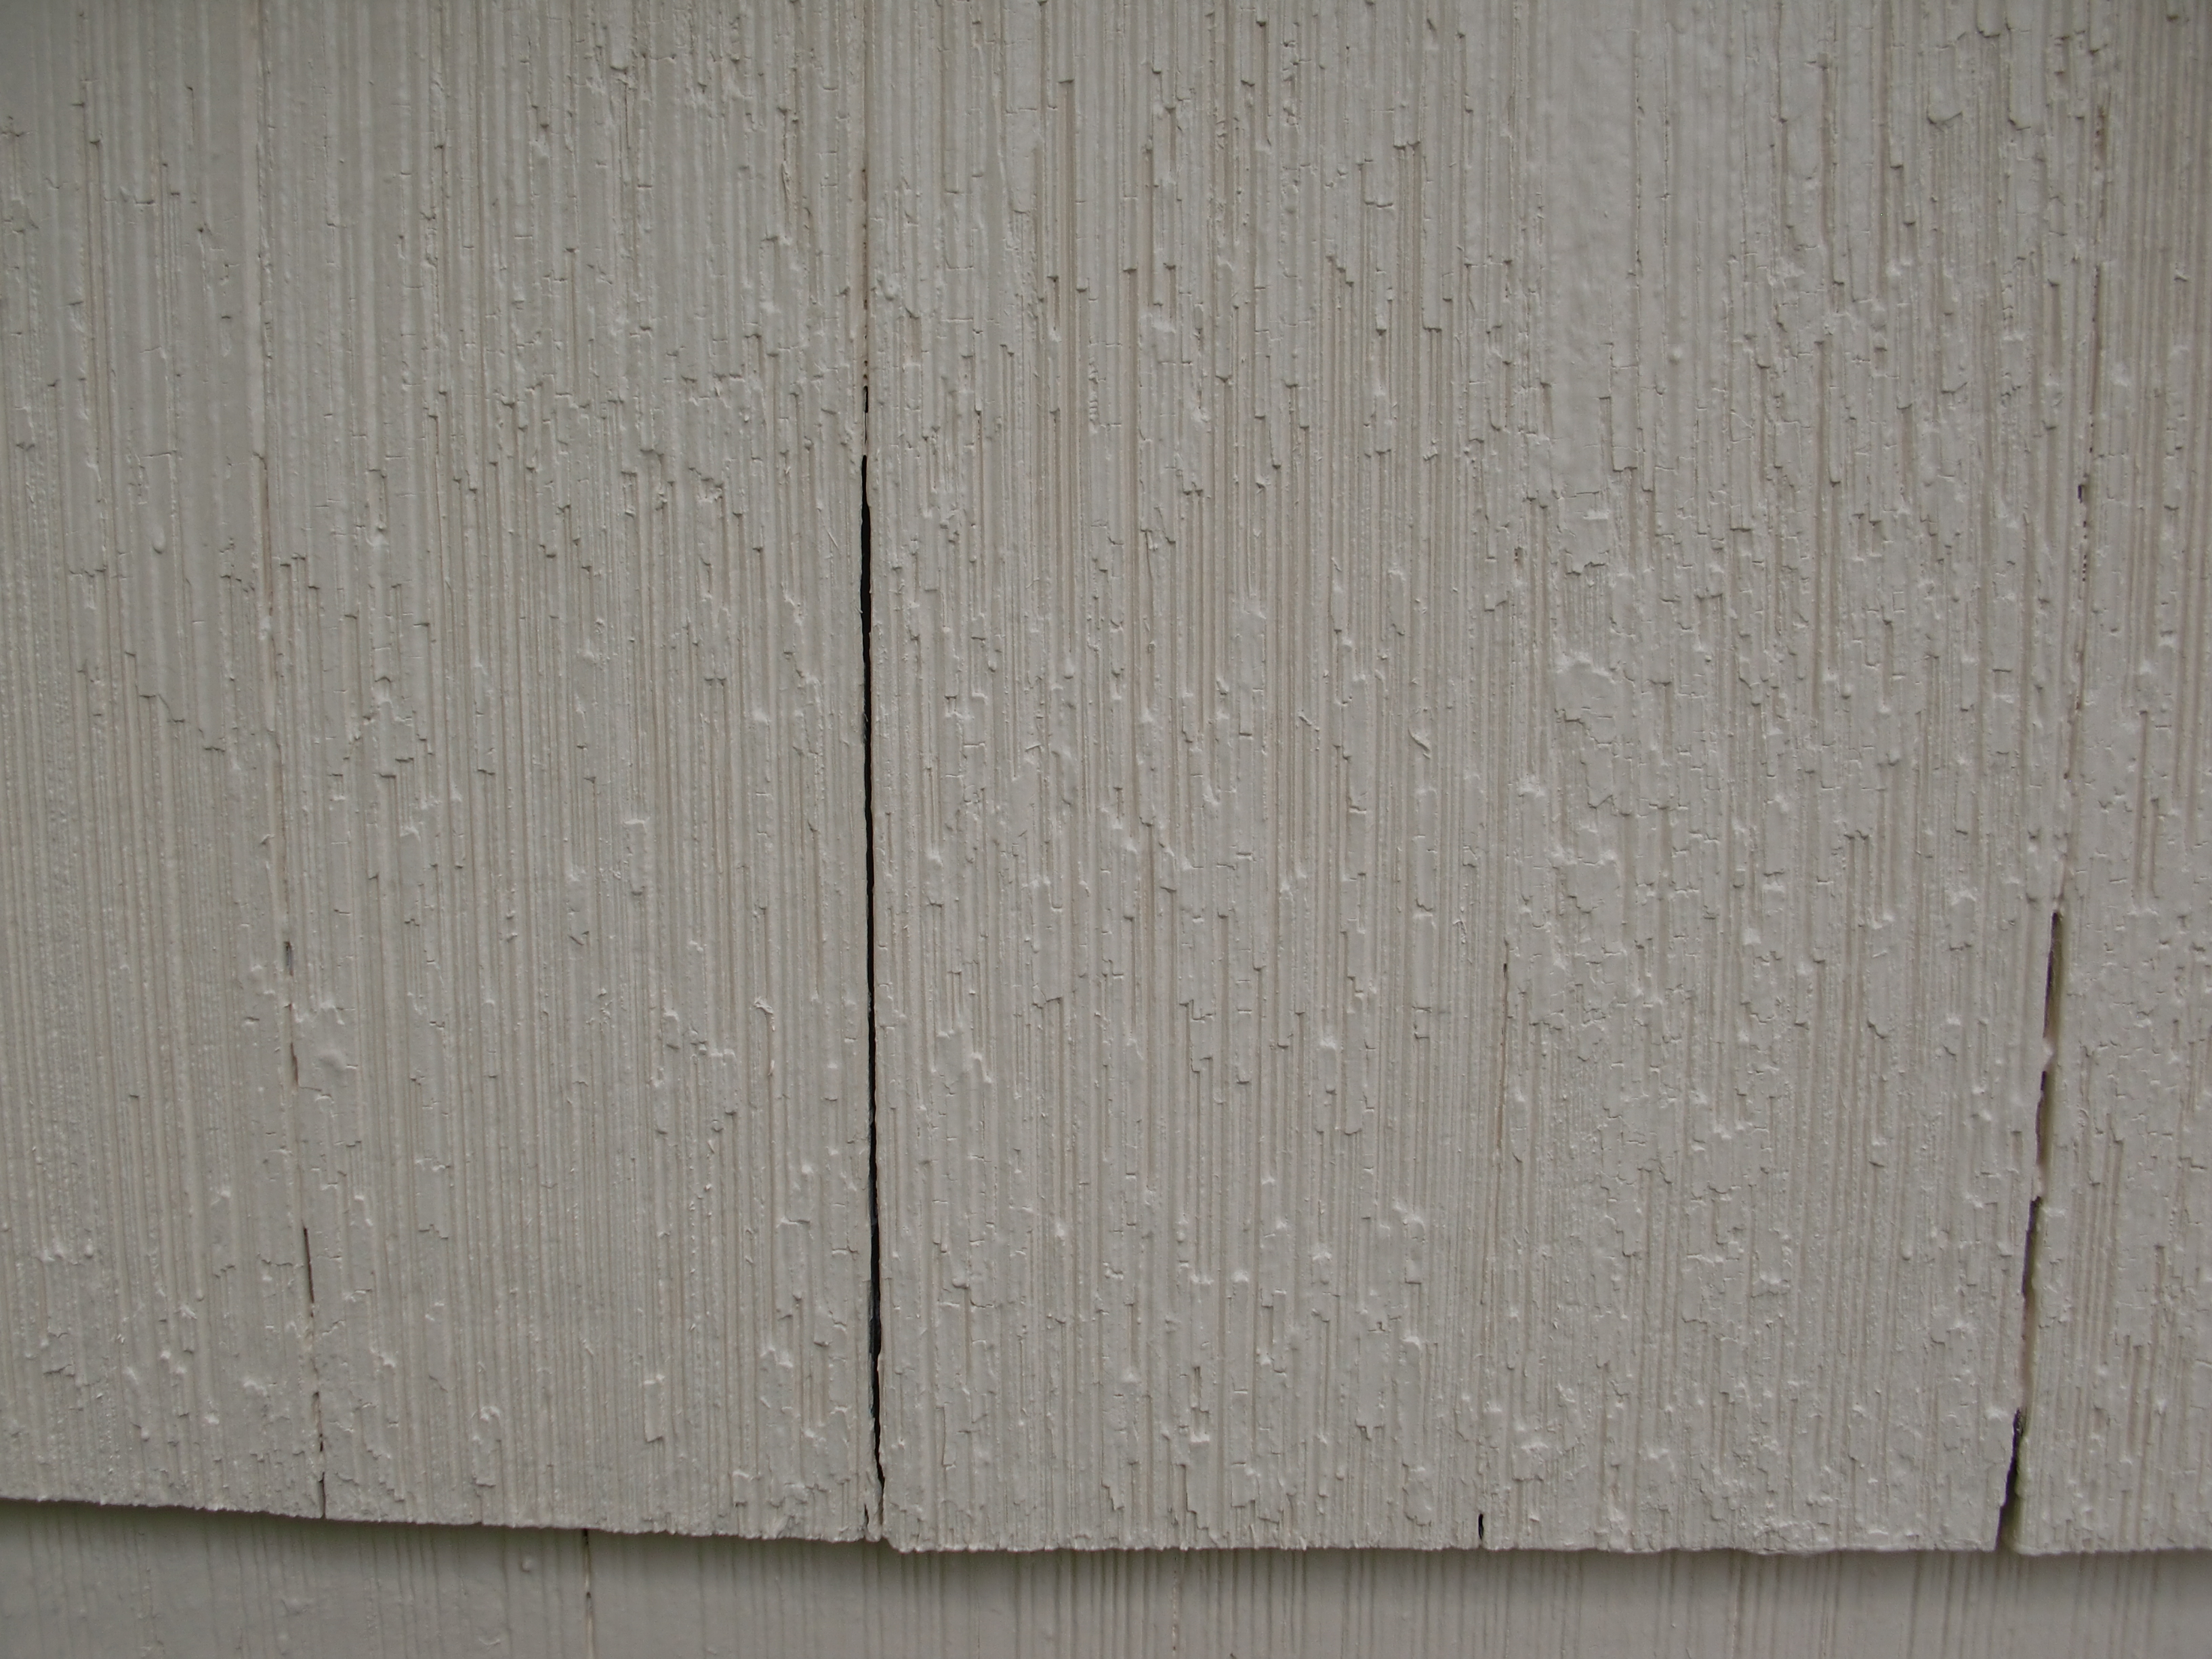
Seventy years of paint have taken its toll on the raked grooves in the
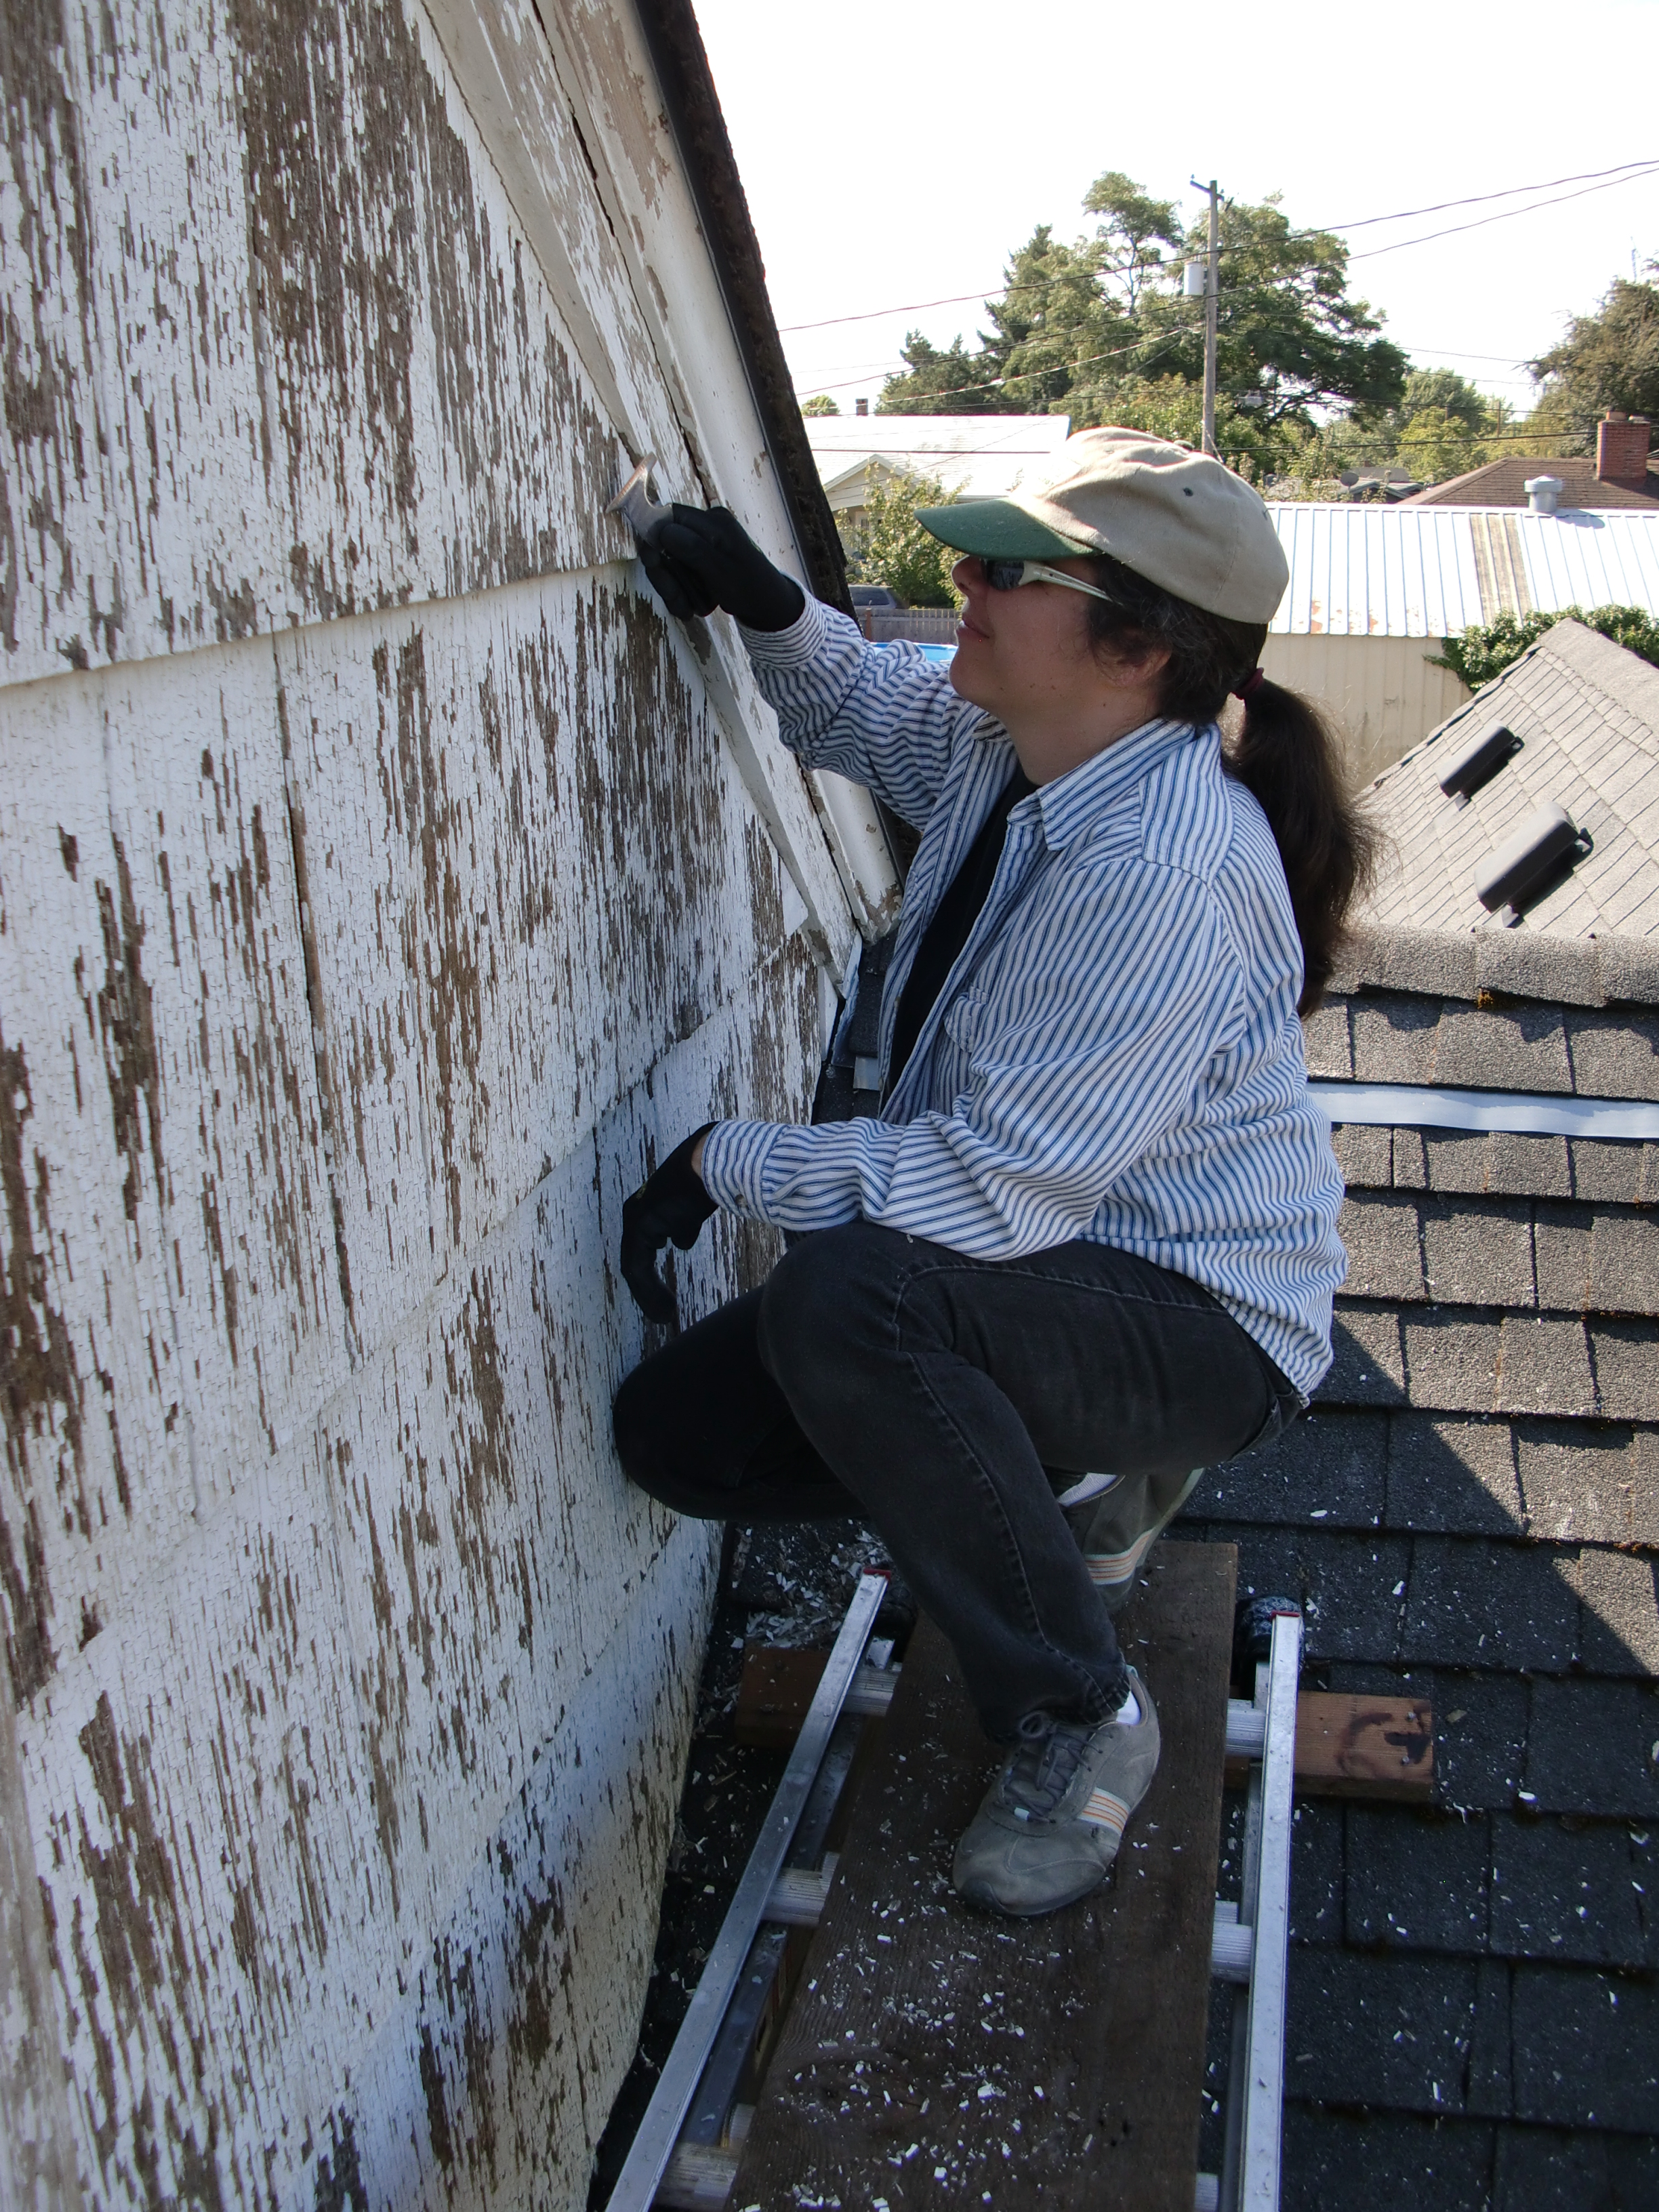
shingles. We tried wire brush, nylon brush and pressure
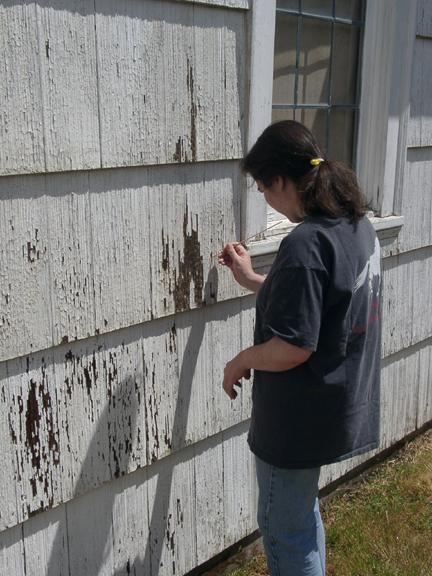
washer. Didn't try any chemical strippers. We found the best
approach was to wet the wall down with a hose, scrub vertically with a
nylon scrub brush at the end of a five-foot handle, hose down the wall,
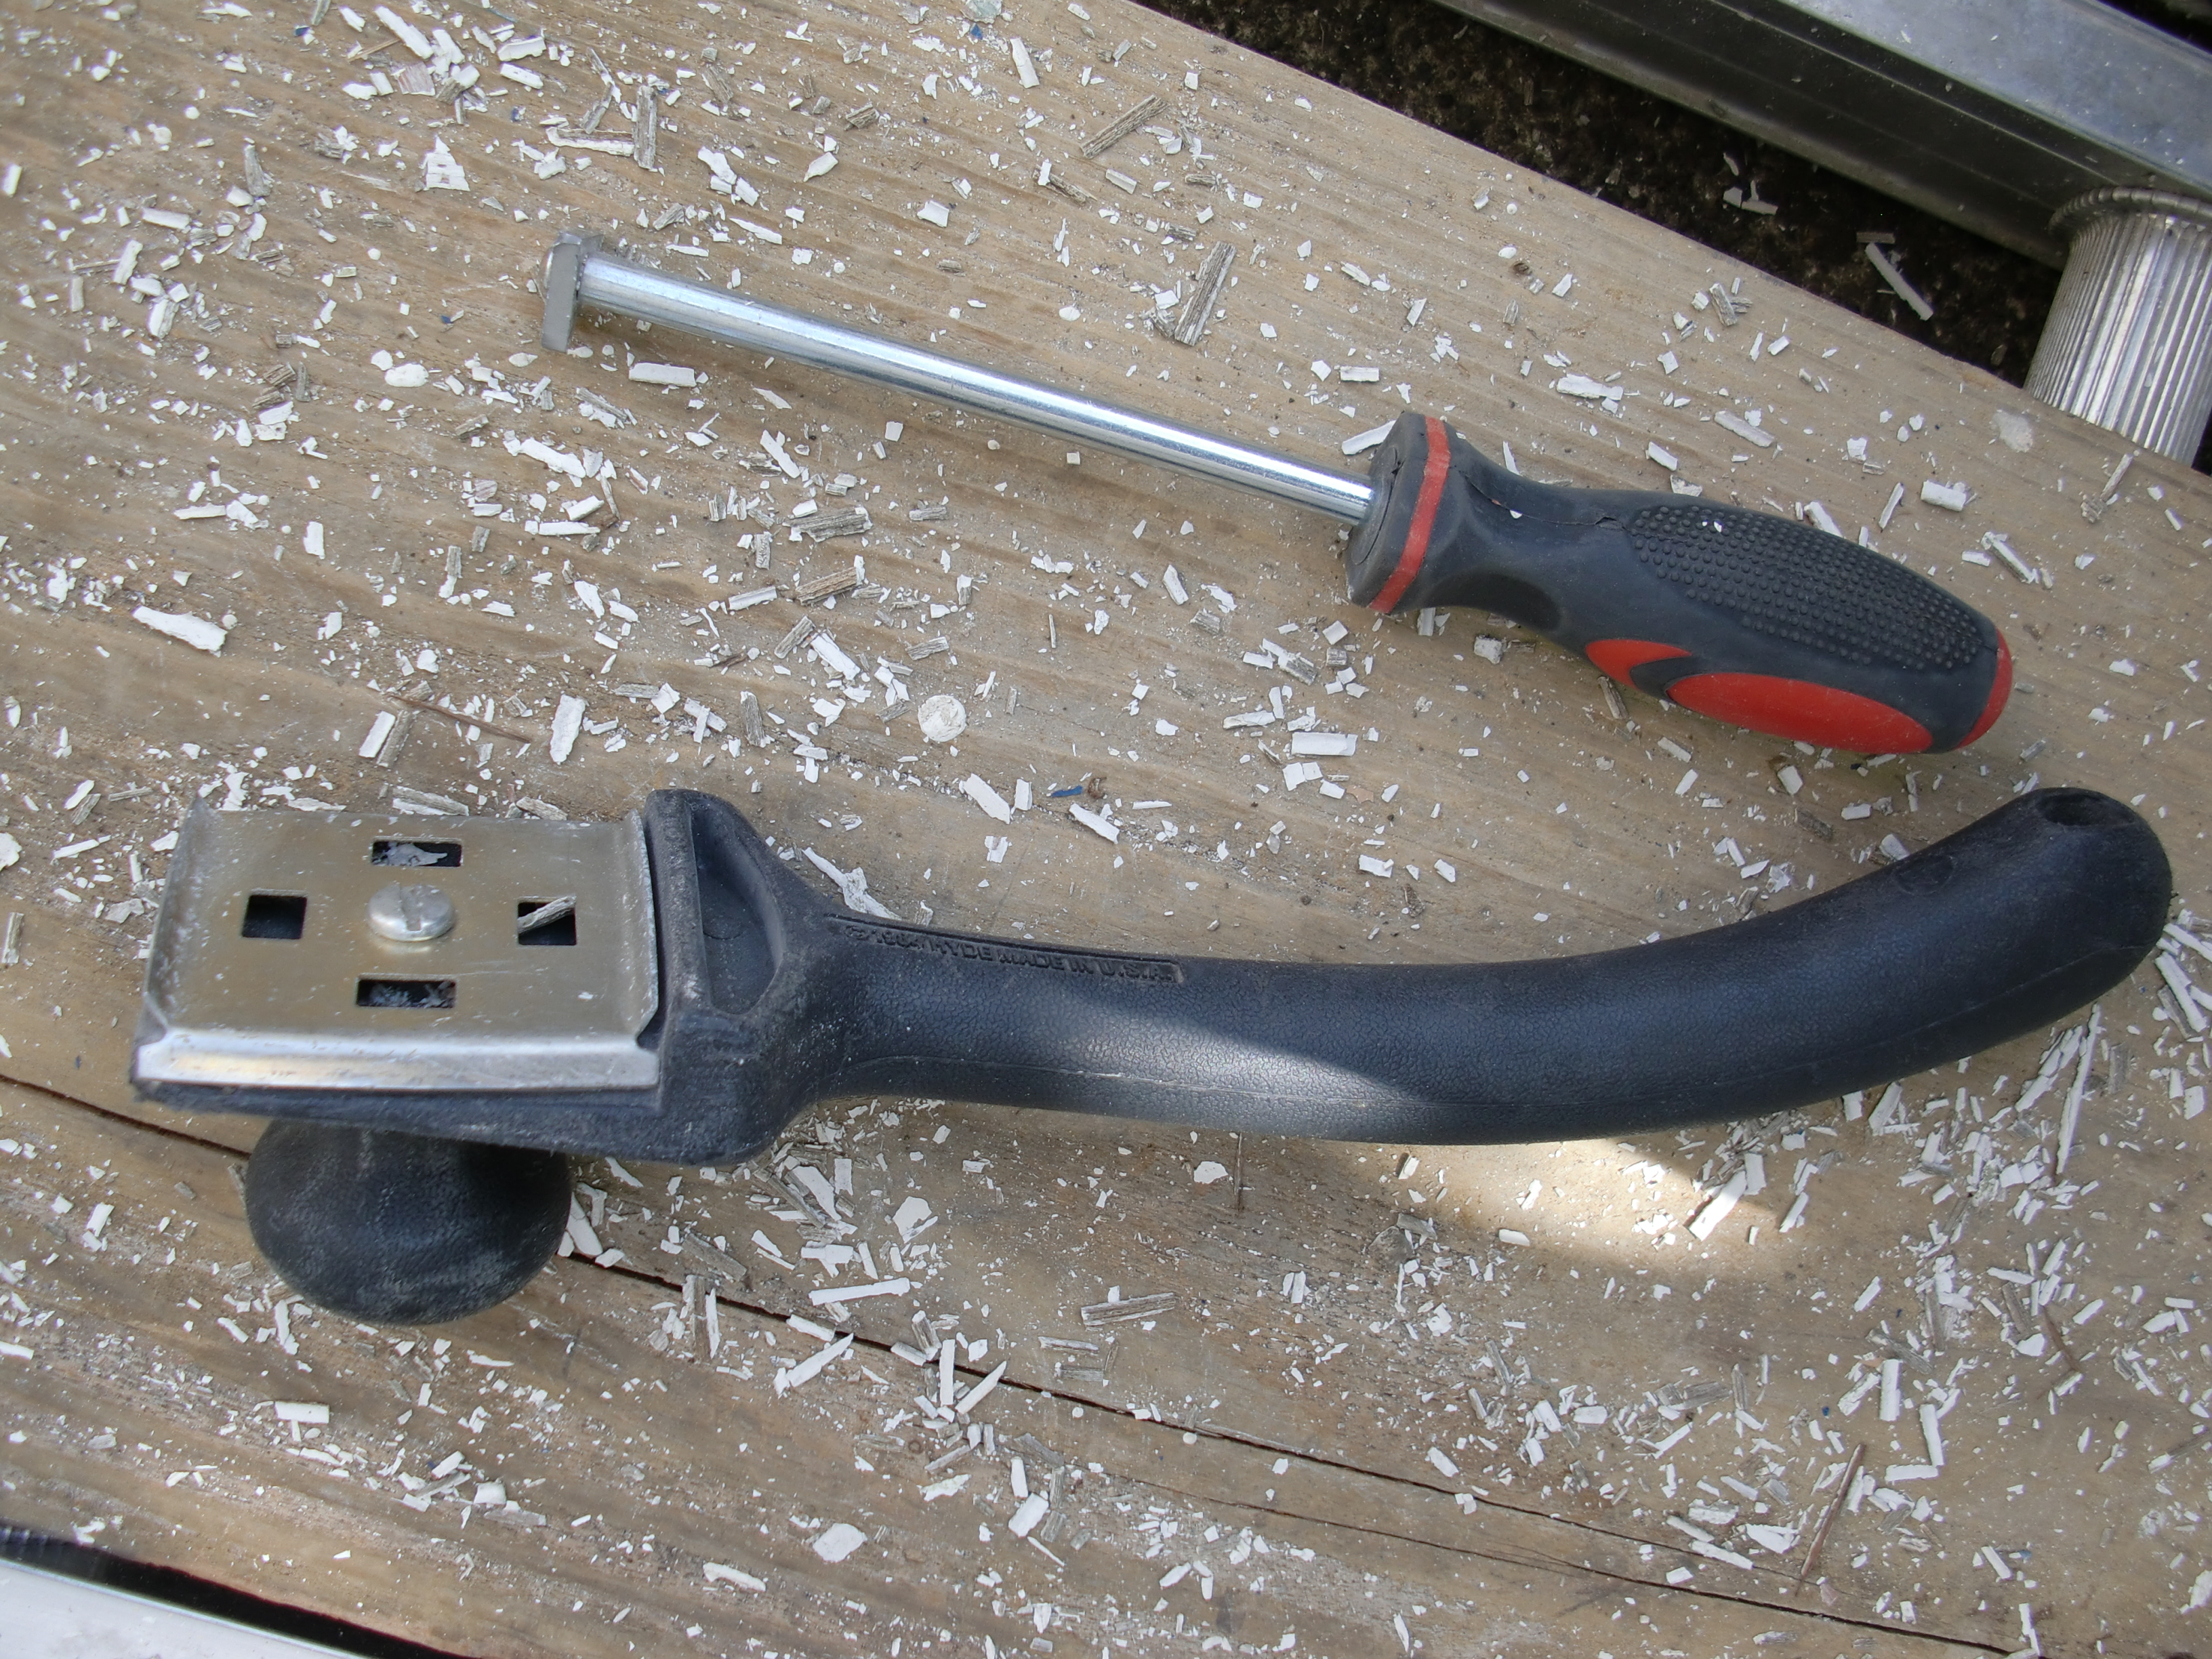
and then start digging out each groove with a metal skewer. Yes,
scraping the paint out of each groove can be a tad time-consuming, but
it doesn't damage the ridges the way all other methods seem to do.
Any old paint that holds up to the skewer, we leave. Then we scrub
the wall again with the nylon brush dipped in TSP, and wrap it up with a
hose down.
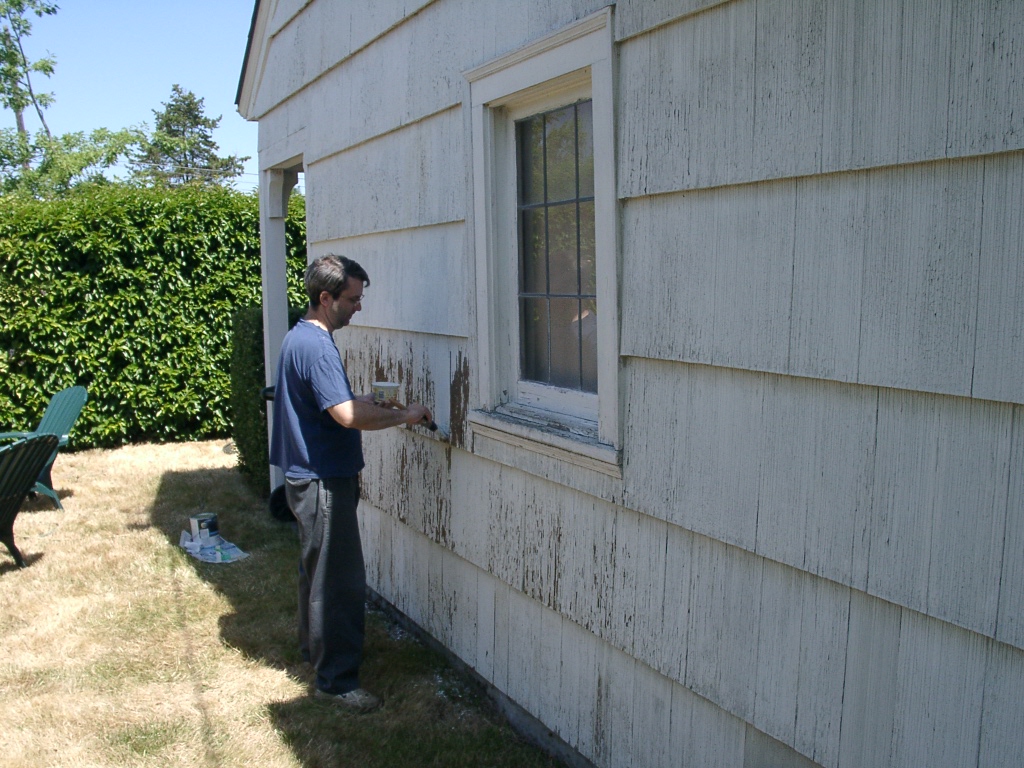
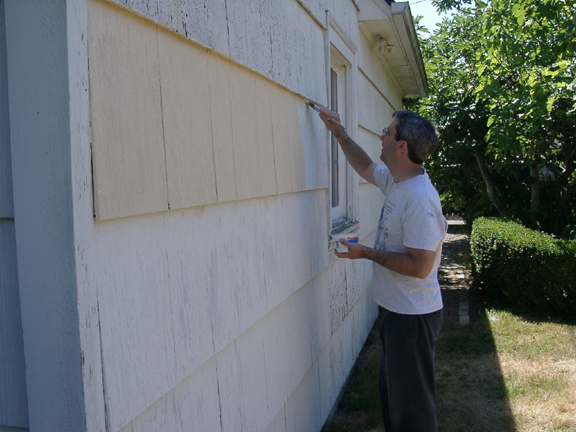
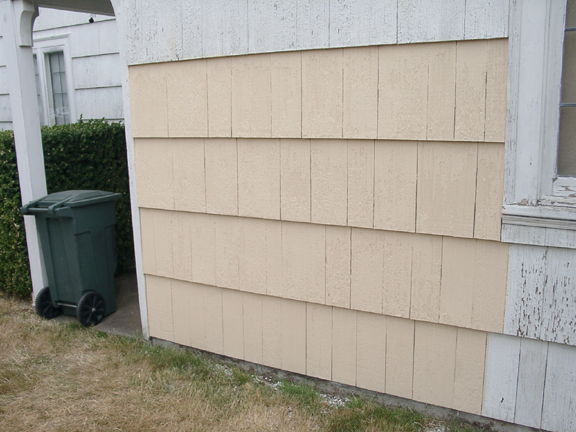
We let the wall dry for two days and then brushed on an oil-based alkyd primer to make the connection to the wood and old oil-based paint. We erected a tent over the wall and let that dry for three days out of the sun and dust. Finally, we went over the primer with one coat of satin latex in one of a million shades of beige. (We had found a putty color as the lowest layer under the white which may have been a primer color.) So now we're looking at a beige body with a dark green sash and possibly a dark reddish-brown trim color. At this rate, that should be accomplished within 20 years. Click on a photo to get a larger image. Hover pointer to get a description of the picture. Photos are in chronological order from top to bottom:
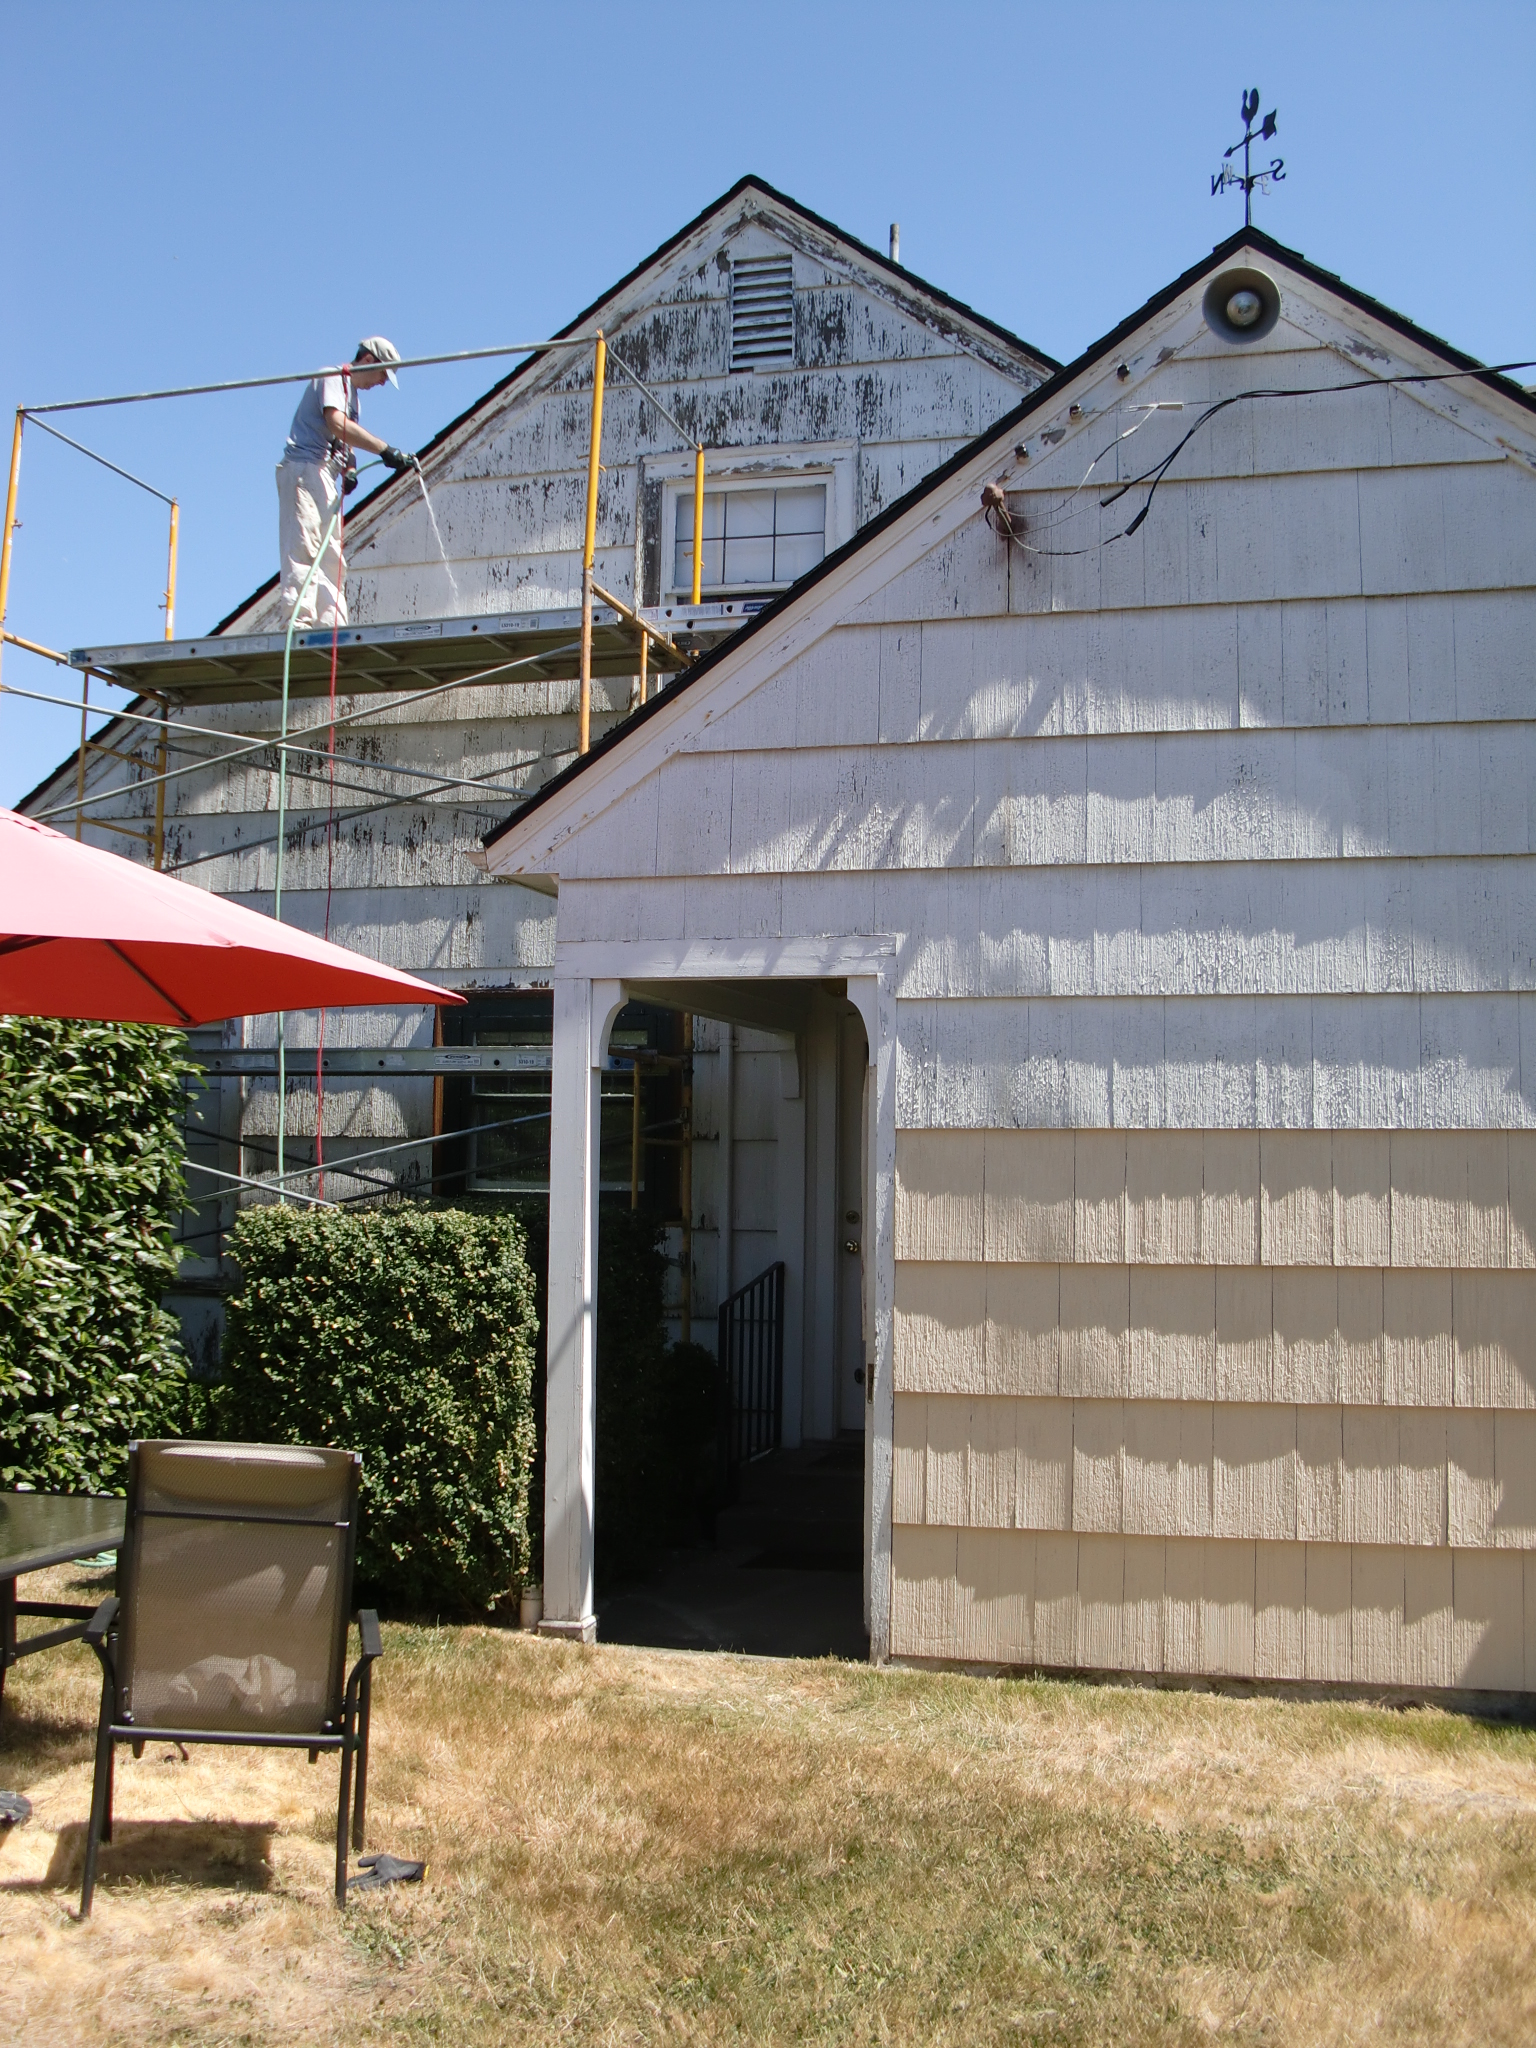
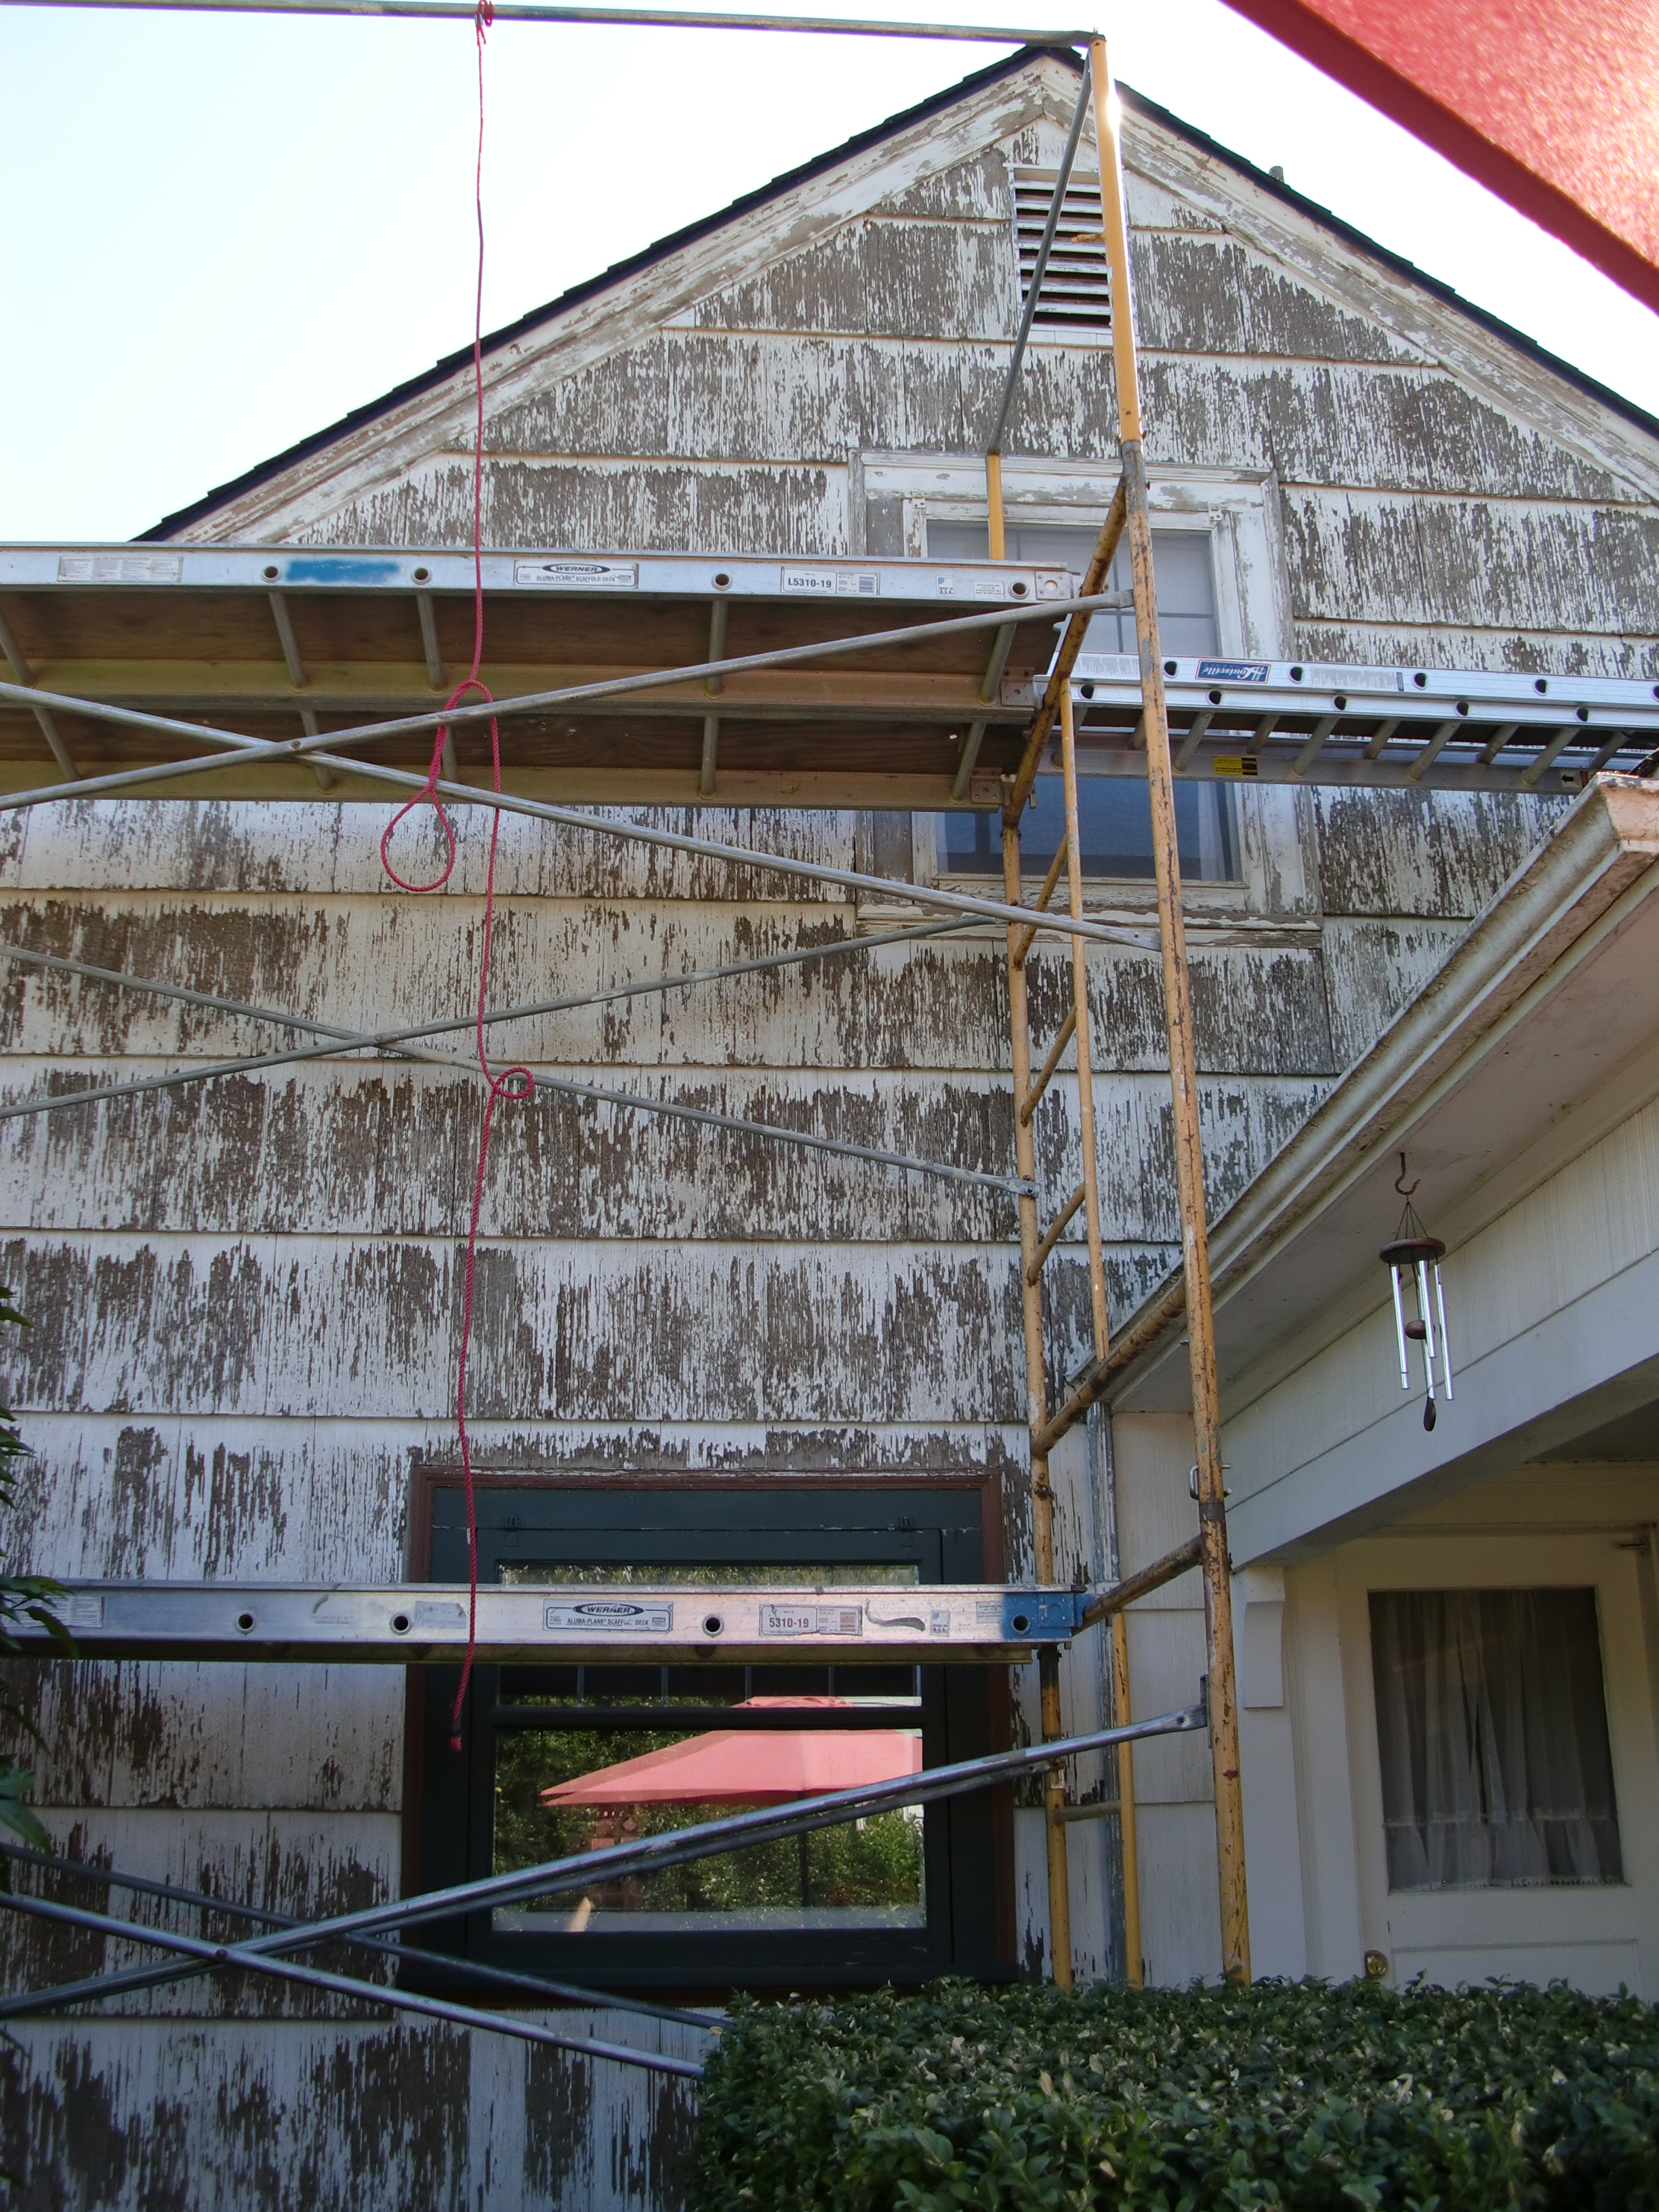
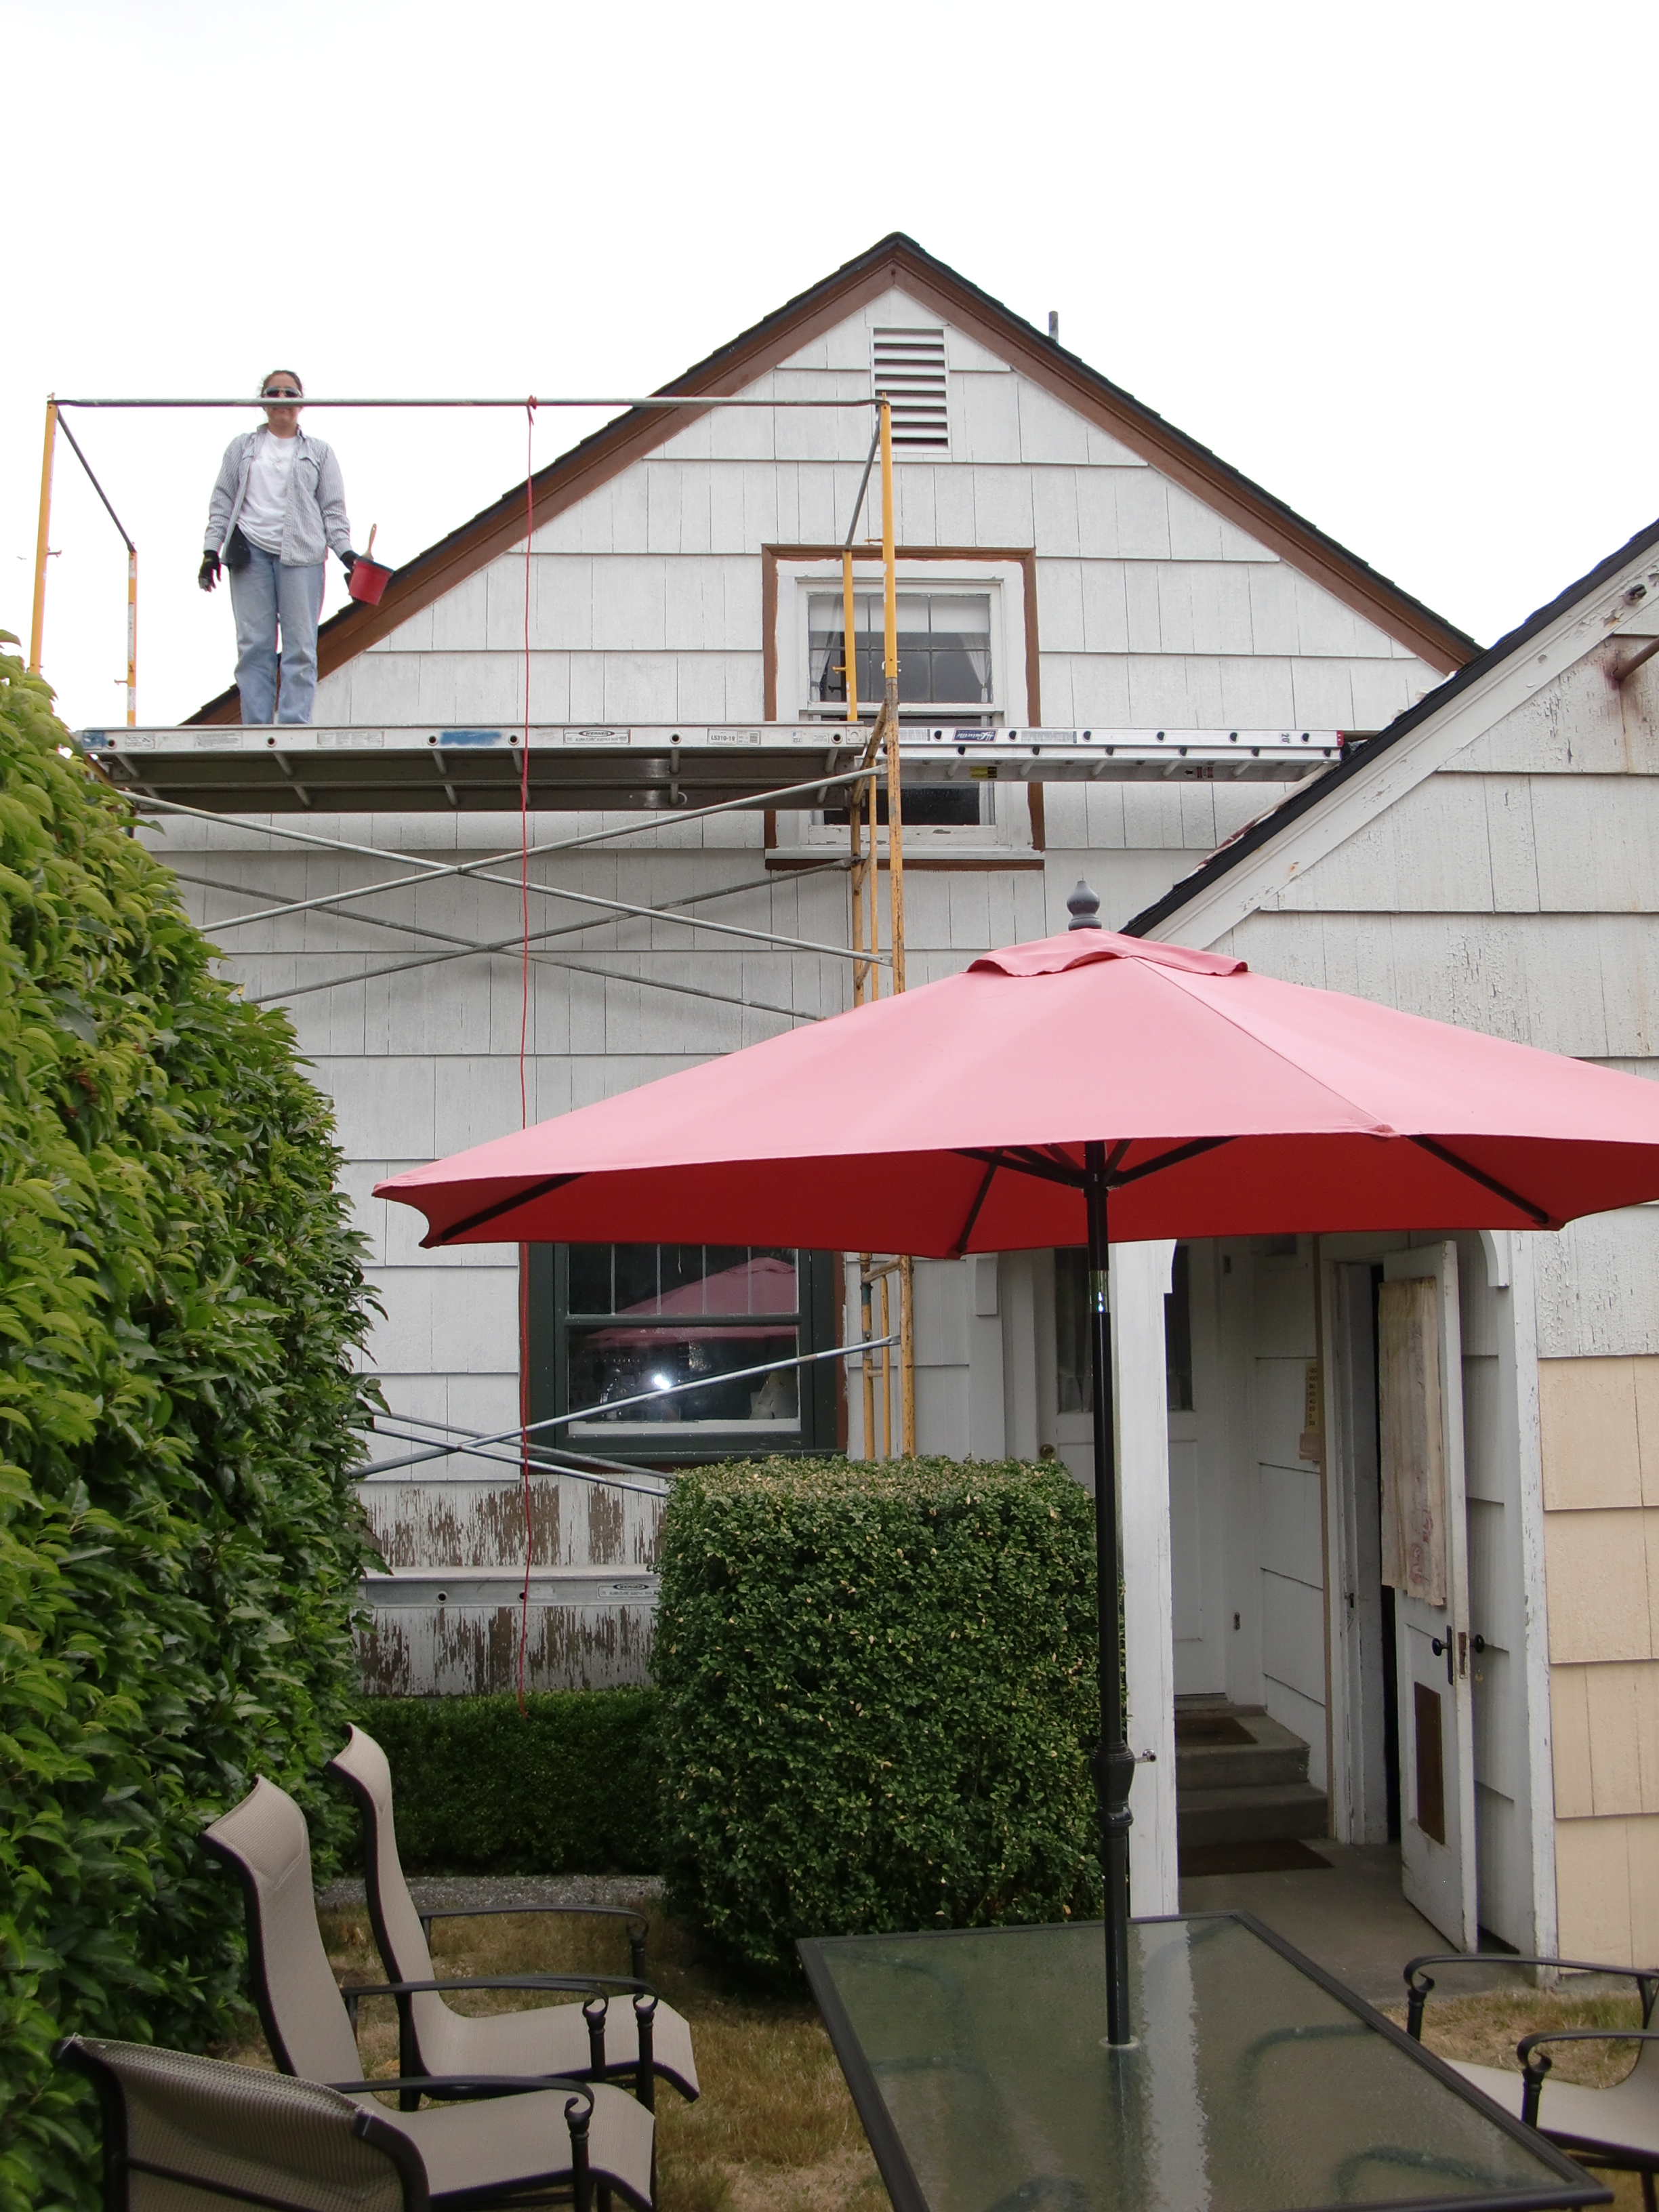
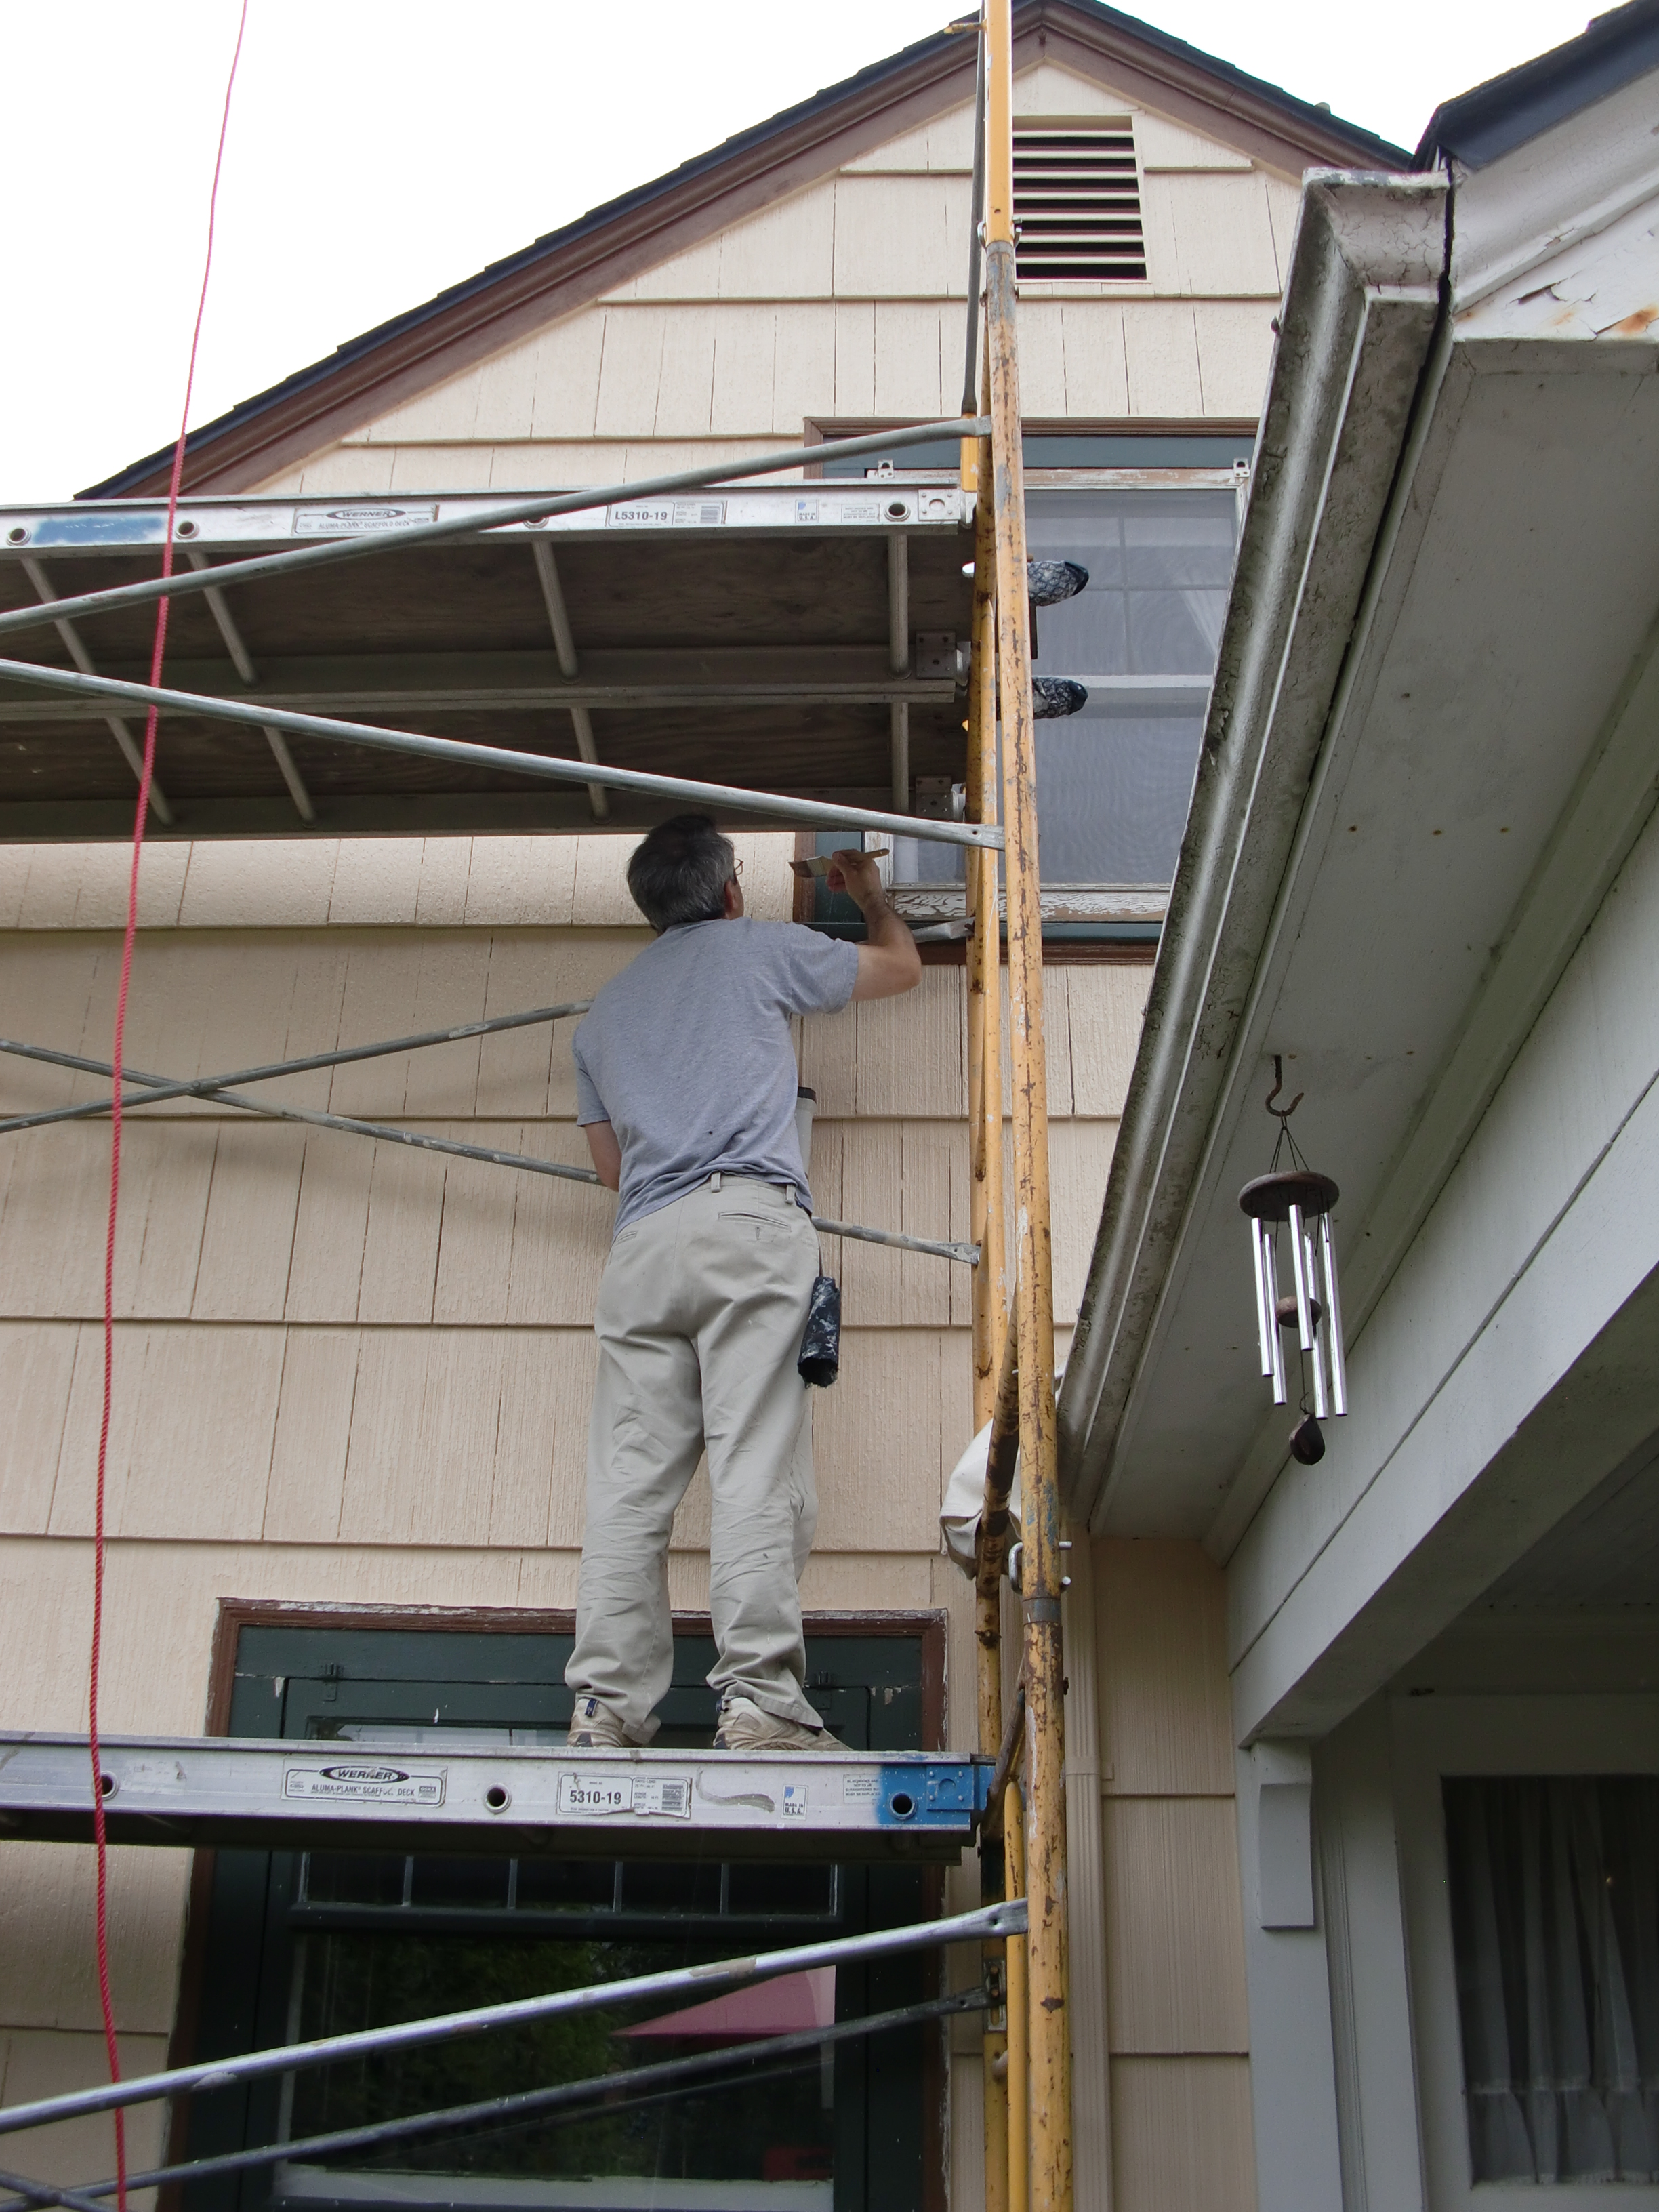
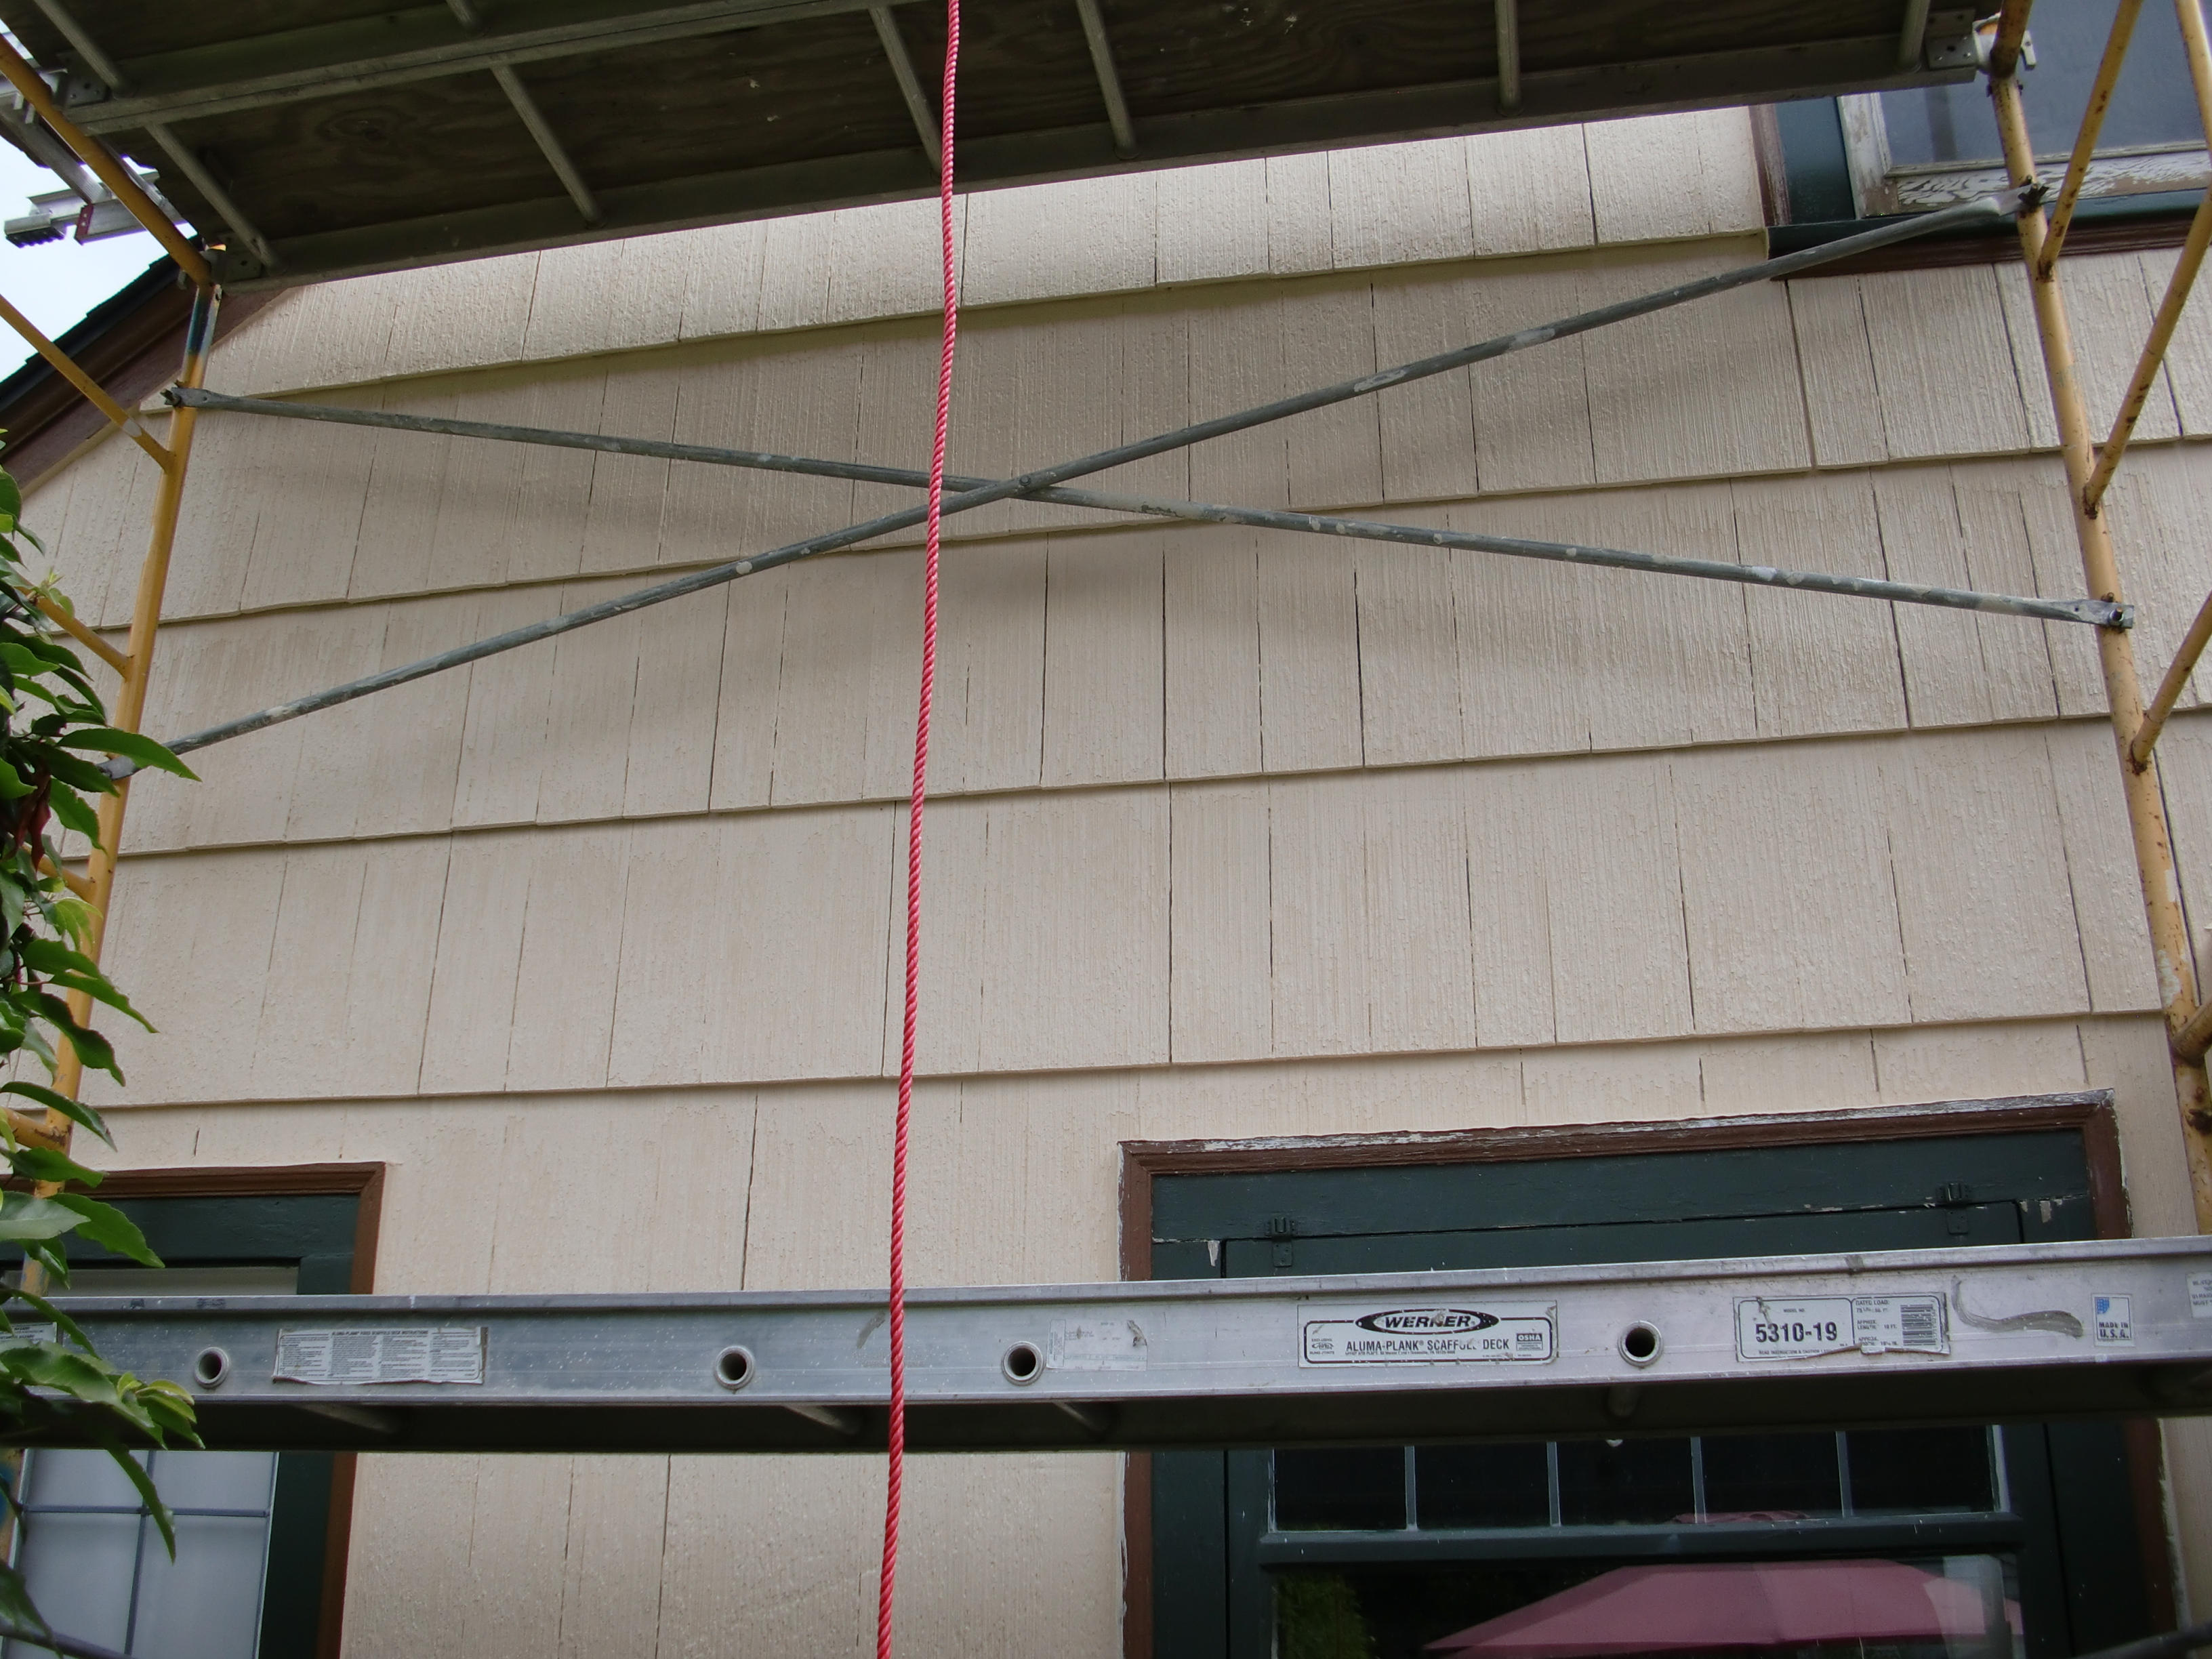
In August 2011, we found ourselves with some time on our hands and energy in our bodies, so we rented some scaffolding and started painting on the house in earnest. But before paint comes prep, and with raked wood shingles, that comes at about a 4:1 ratio on this house: four days of prep for one day of paint.
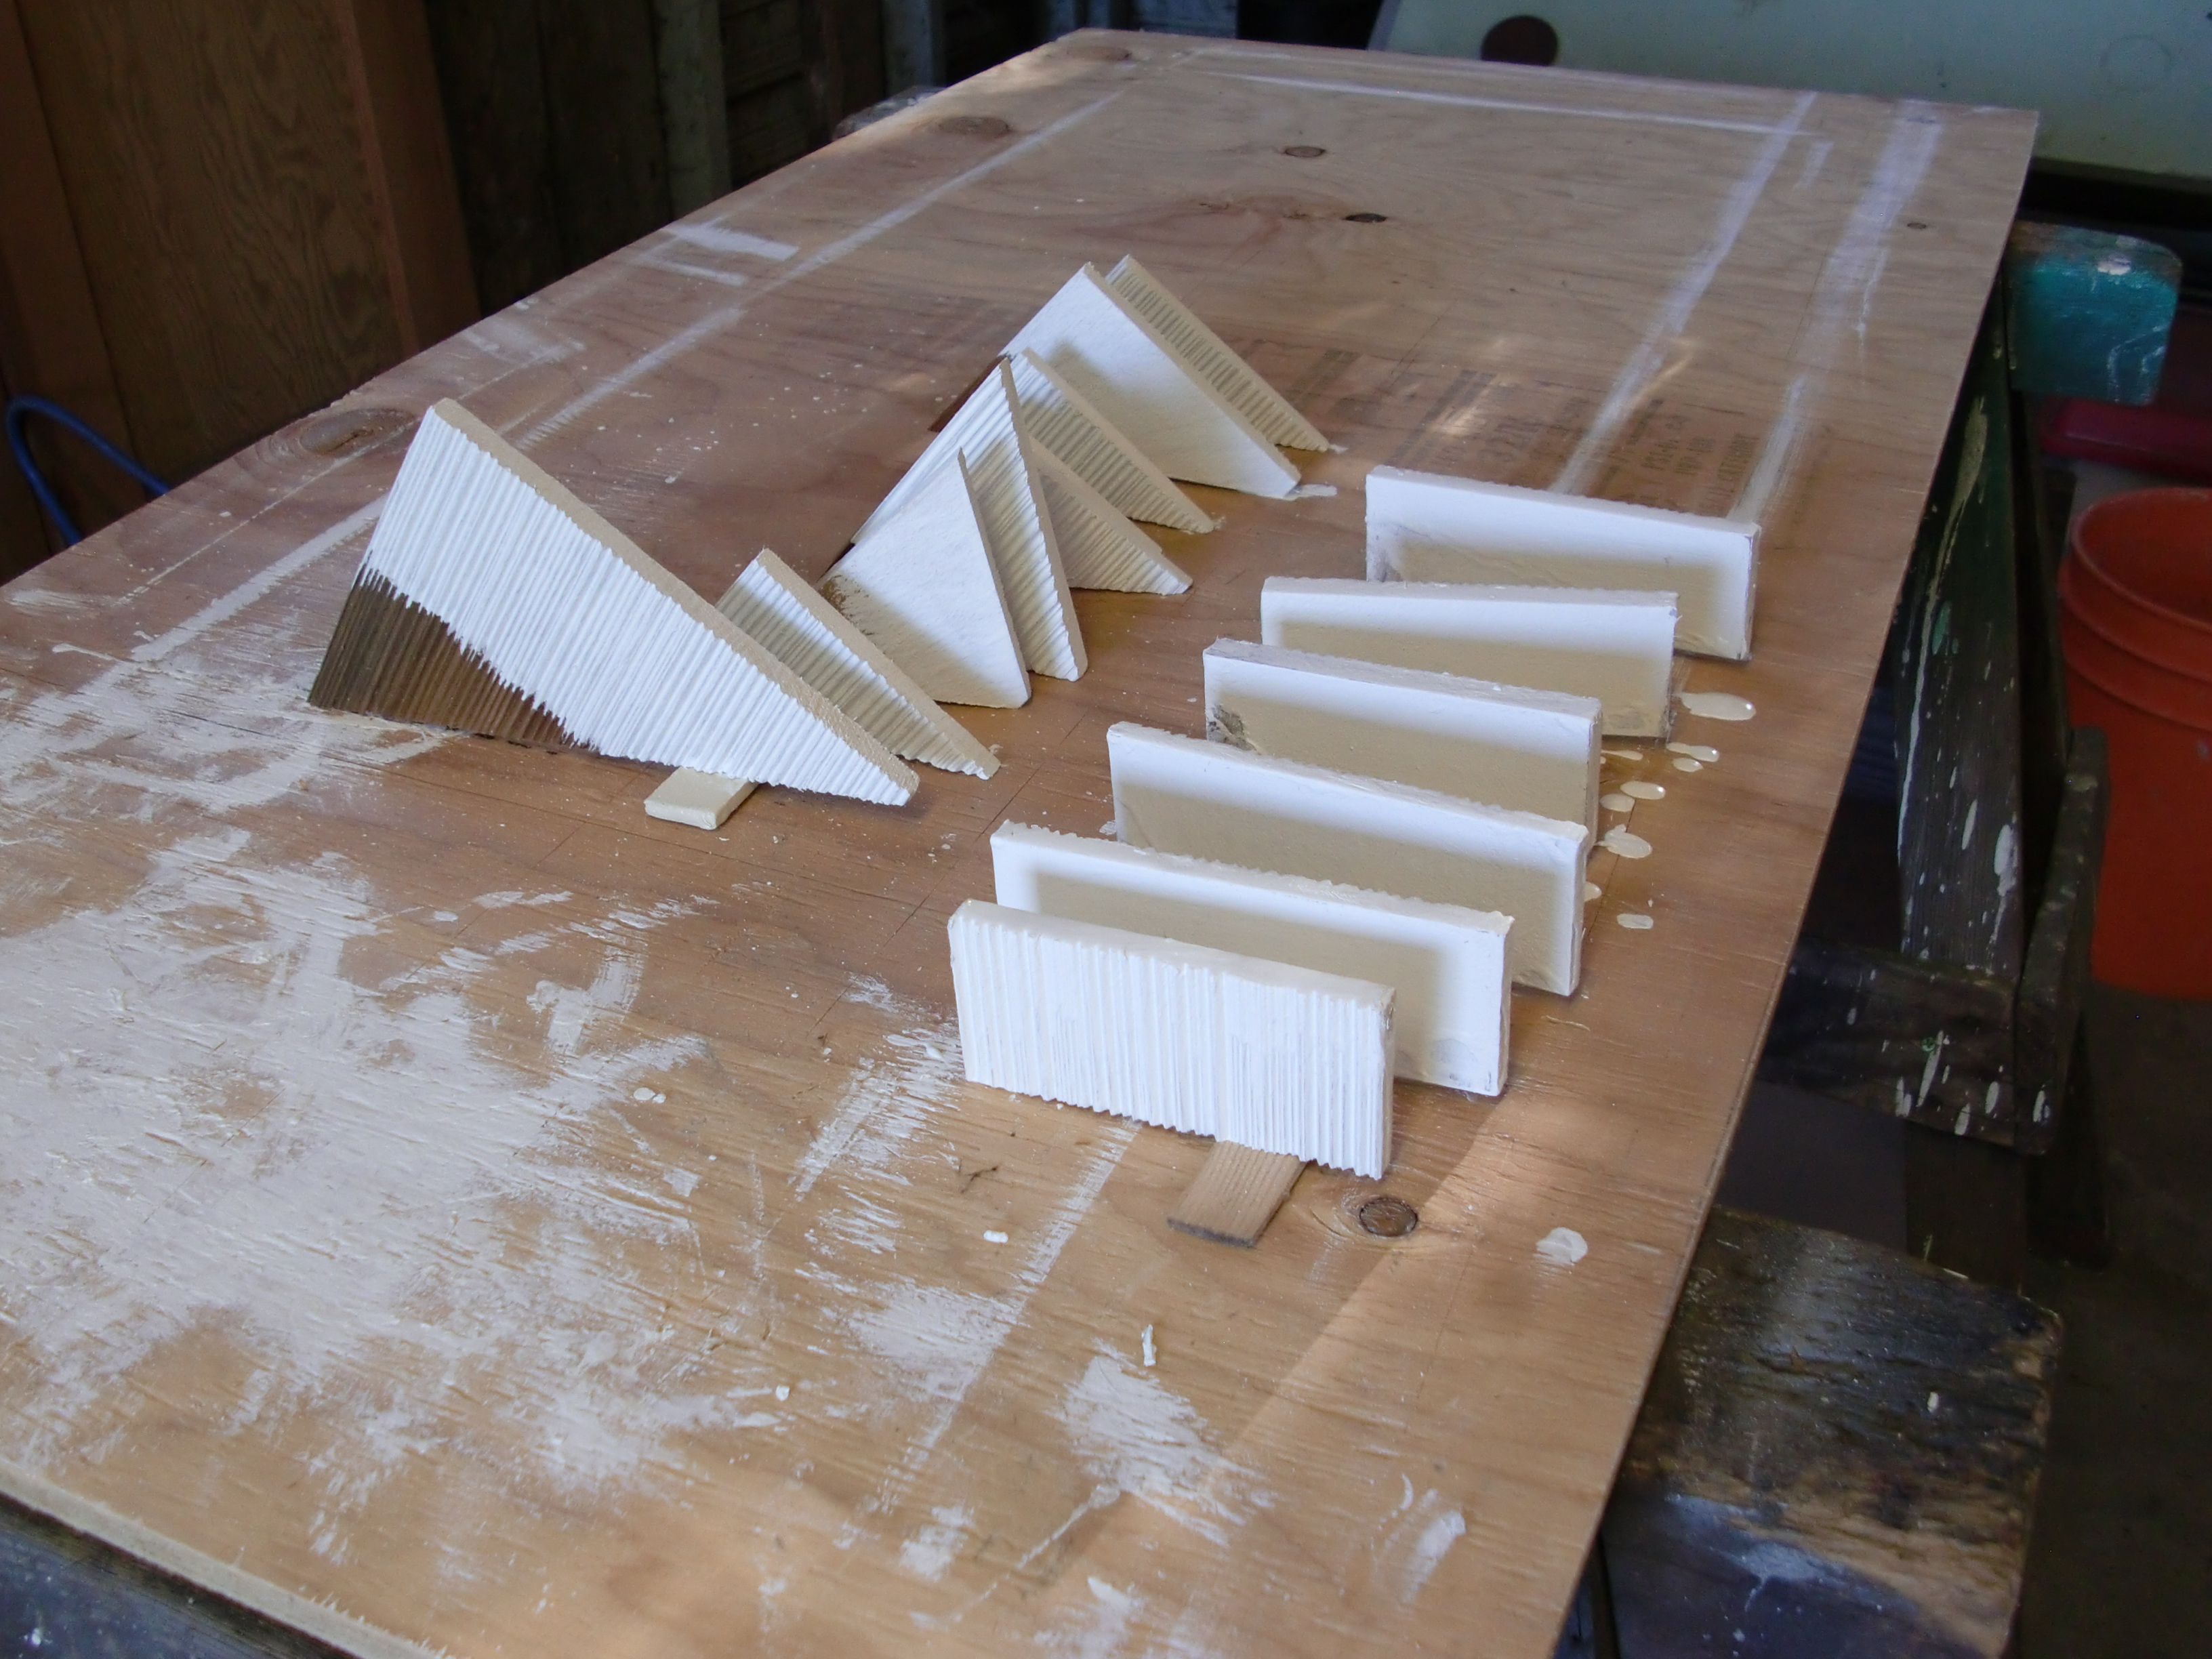
So scrape, scrub, rinse, and repeat THREE times. We started with the west side, the weather side of the house. It had already lost a good deal of paint. We figured it hadn't been painted since the 1980s. Once we got it good and stripped, we started the repairs. A few of the small, pieced-in shingles had fallen out, so we replaced them with "new" raked cedar shingles that had been left by the previous owner (a full bundle had been left in the attic that had to date to the original construction).
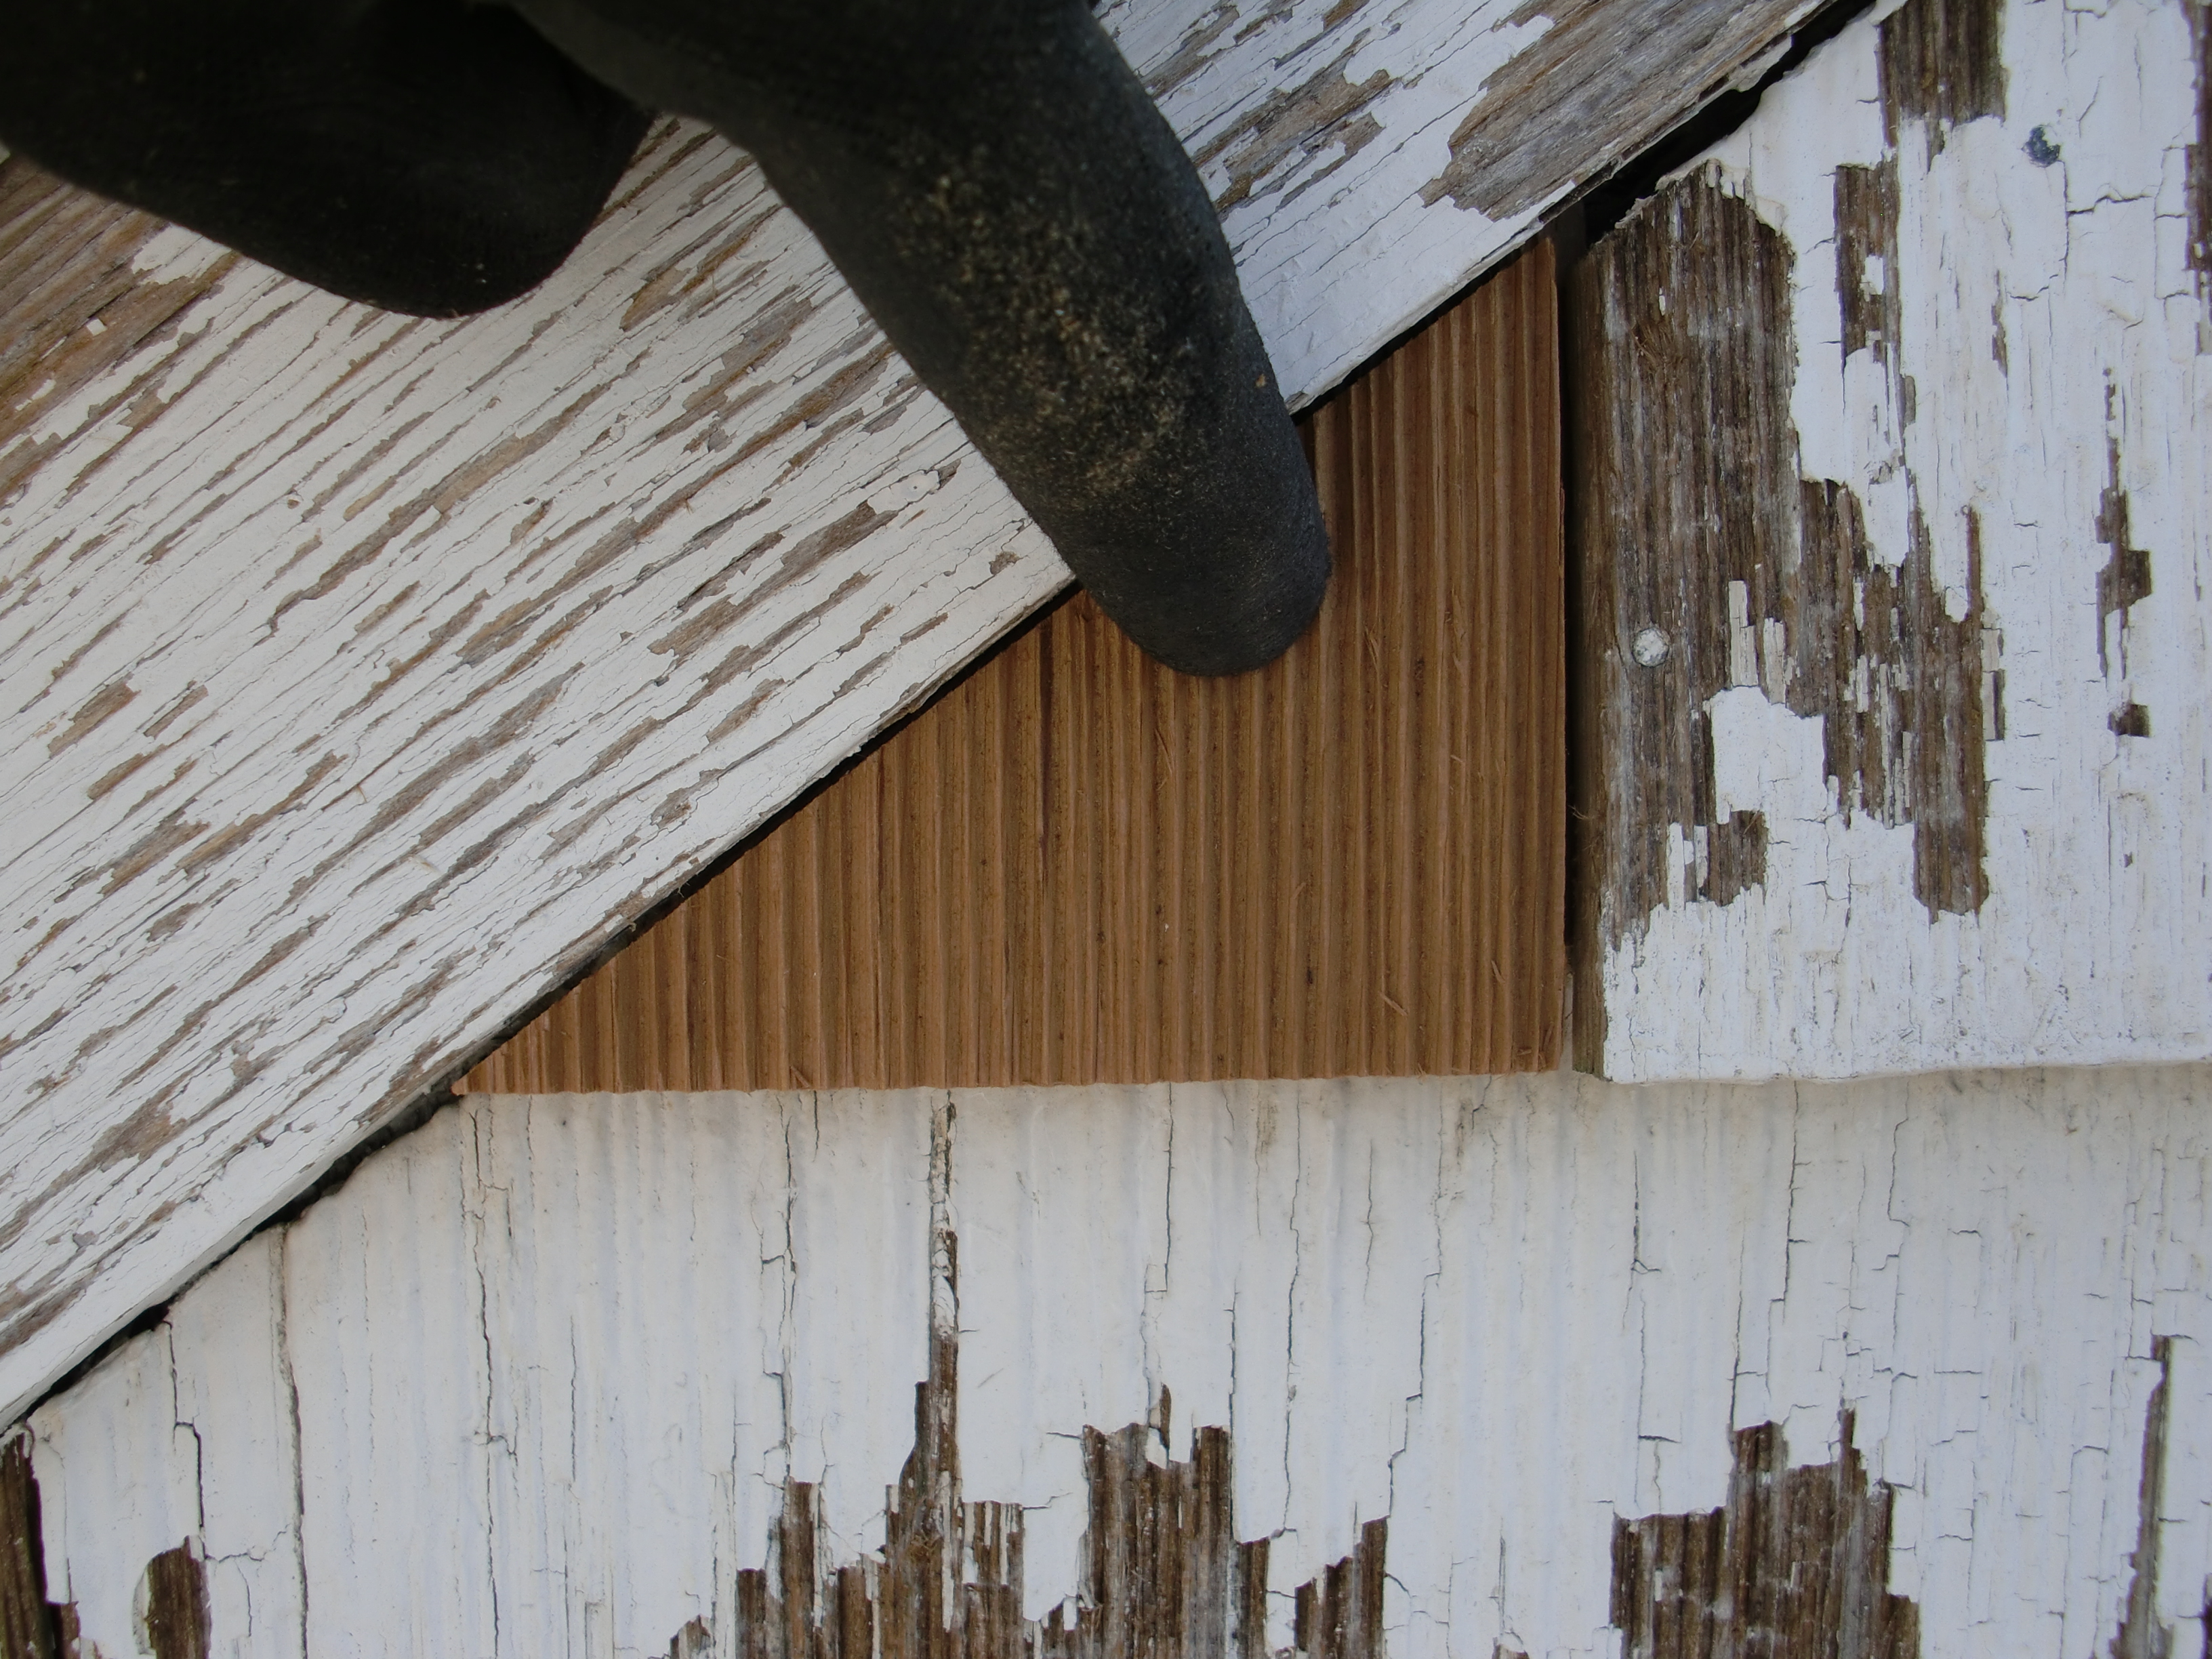
We also figured out the original paint scheme during the reveal of the lower layers. Seems the shingles were dipped in some sort of copper-sulfate solution as a wood preservative based on their green hue front and back. Then stained or washed in a olive-ish green on just the front side. Then painted white with dark blue trim prior to 1951. We removed as much paint as we could. We used standard flat scrappers for the trim and a carbide-tipped tile grout ripper along with putty knives and nail sets for the raked wood shingles. Nothing can be as hard to strip as raked wood shingles. Scrubbing and scraping, scrubbing and scraping became the best method. We used warm water, TSP and a nylon scrub brush to clean and then rinsed with a hose. Power washing was too damaging to the shingles and got less off than a scrub brush. Any power tool, heat or wire brush also damaged the ridges on the shingles. Since the shingles are machine raked, the high points on the shingles can be either hard summer wood or soft spring wood, so it's difficult not to damage the high points. We settled for removing any paint that was loose and priming over any well-attached paint.
We primed with Z-Prime Plus, an oil-based primer by Zehrung. An amazing product with a dry time of one hour! I'd always been taught to use the slowest drying primer you could find for deep penetration but we quickly tested this product and found it worked just as well as a two-day dry product. Plus it was on sale at Rodda for $25/gal and my old product was being phased out and now cost $45/gal on special order.
We then used Miller's Acri-lite semi-gloss latex to paint the brown trim. Then Miller's Acri-lite satin latex to paint the beige body color. Then Miller's Acri-lite semi-gloss latex to paint the window trim. I've always been a believer in oil-based paints, but they're getting weaker as they're getting phased out, and the latex is only getting better. I am now a latex painter, though I'll always go oil-based on my primer.
We then caulked all the window and trim joints with DAP Dynaflex 230, a latex paintable caulk. Next came the second coat for the beige body, brown trim, and green trim. That order worked well for the meeting points of the color. Also to embed the caulk between paint layers. All paint was done by brush.
Note that the windows themselves still need some work. And the trim around the kitchen window is part of that process, so it's not the perfect exterior wall just yet! Modified: 08/19/2015 |