|
|
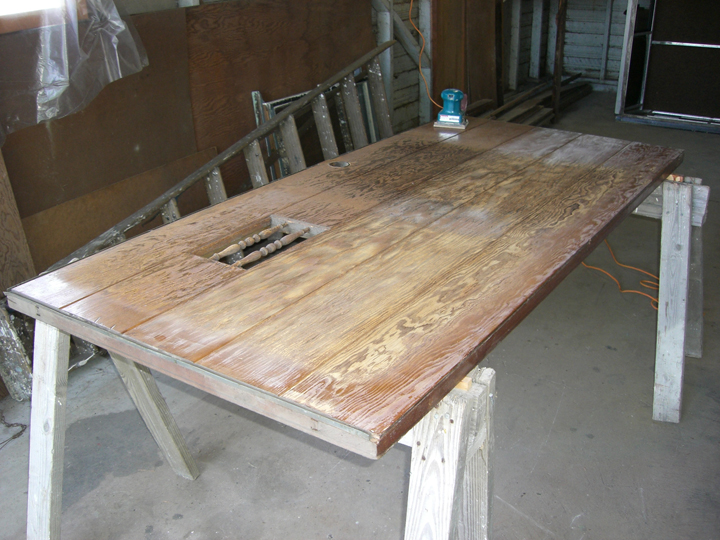
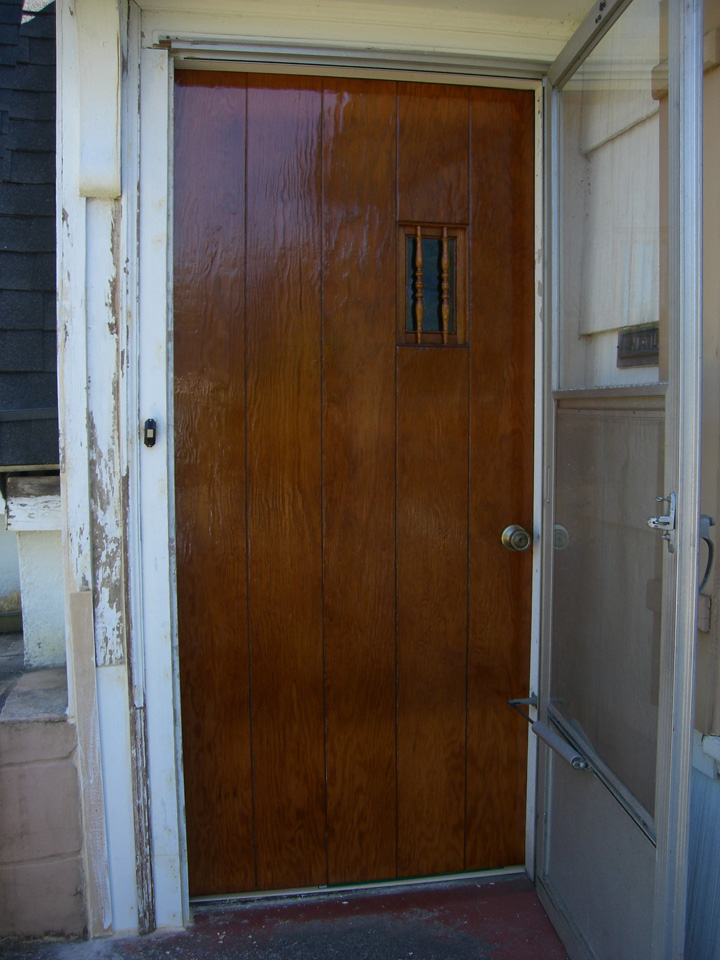
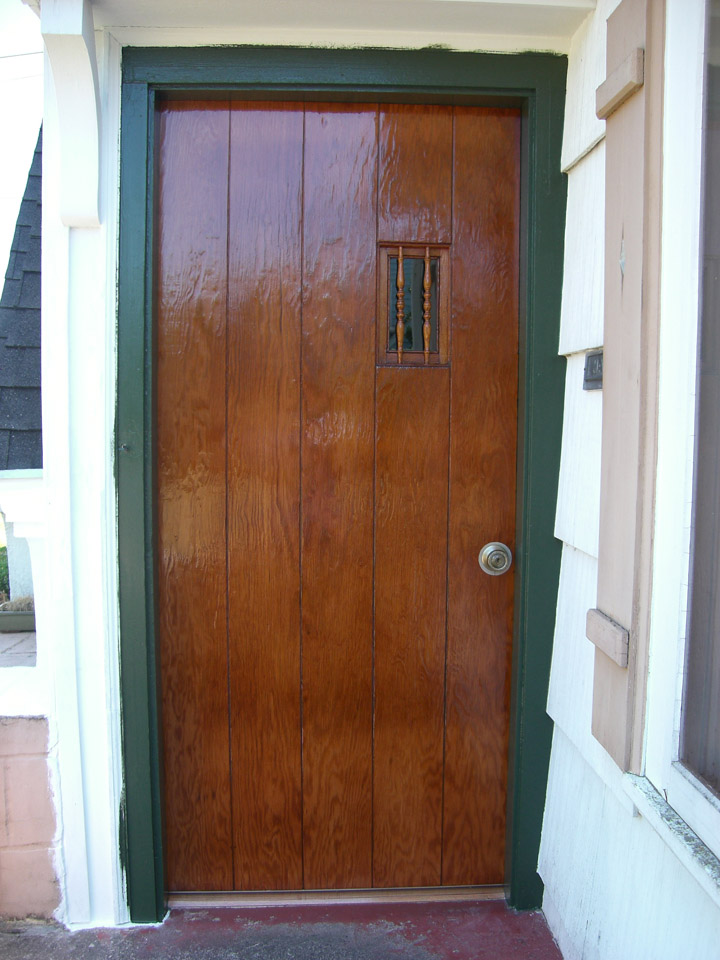
Here are photos of our front
door refinishing project from June 2007. The door had 75 years worth of wear
on it. The finish was completely gone where it wasn't protected by
its screen door. The wood was actually desiccated and sunburned where
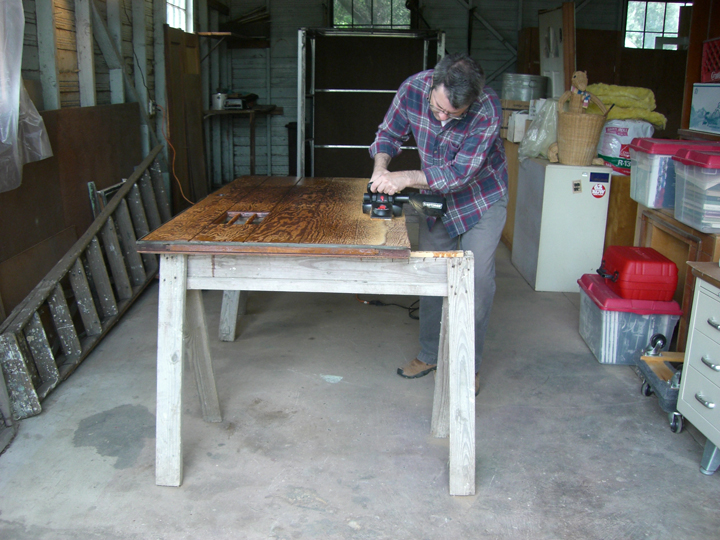
it wasn't shielded. We sanded the fir door with a power palm
sander and then put on the first coat of urethane.
Unfortunately, the large, square burned areas boldly showed
through.
(Click on a photo to get a larger image. Hover pointer to get a description of the picture. Photos are in chronological order from top to bottom.)
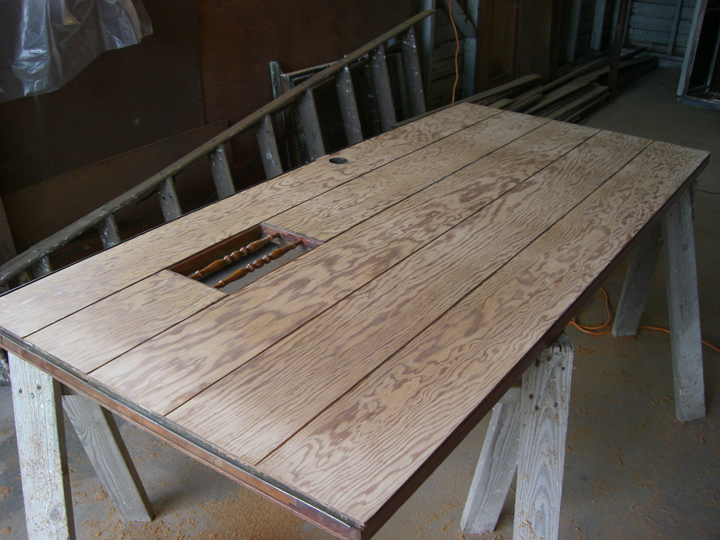
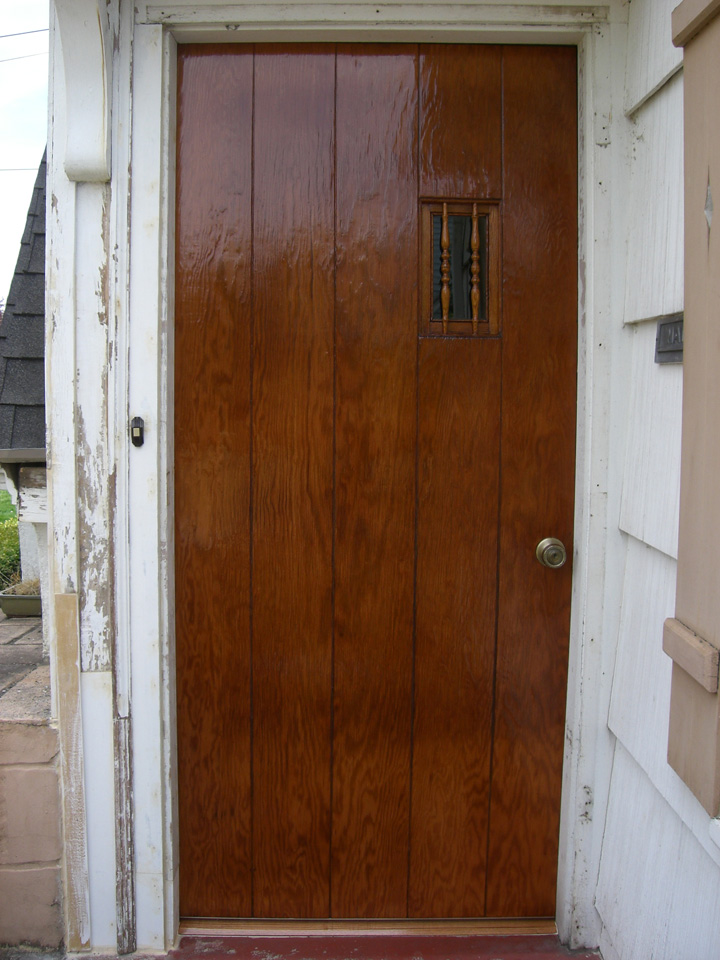
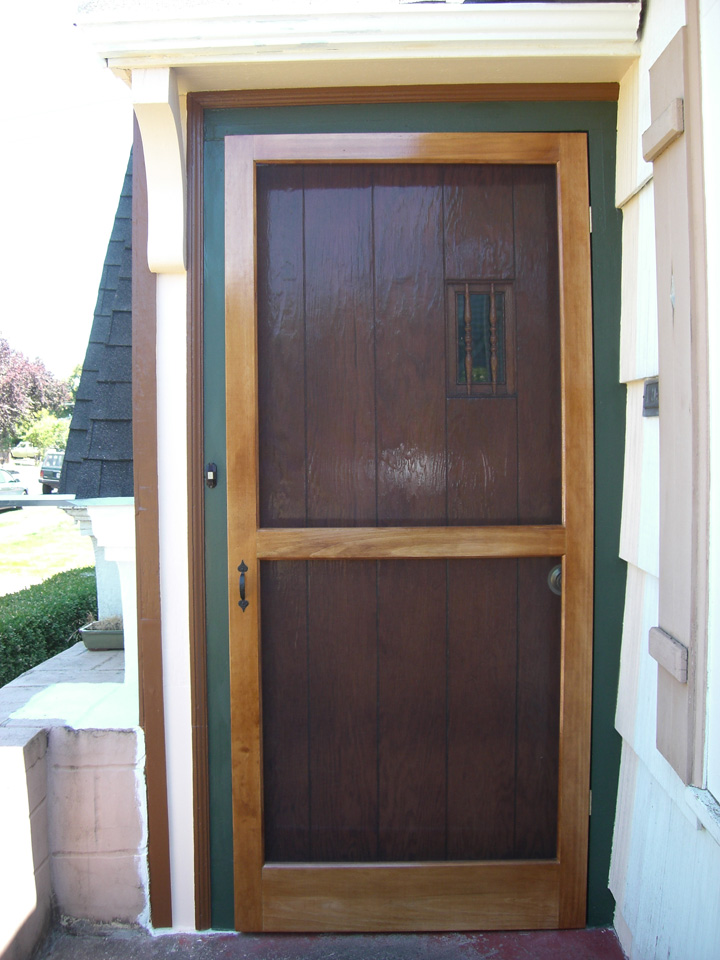
We then took a power planer to the door and removed nearly an 1/8" from the plywood door. Luckily the top ply was extra thick.
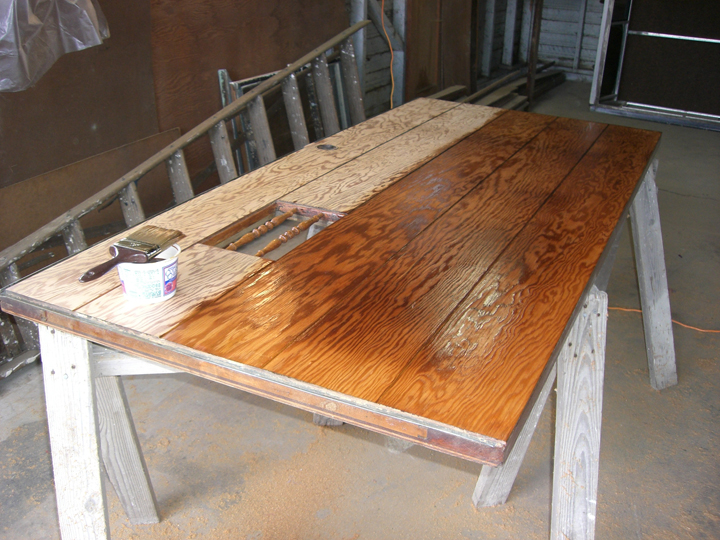
We then applied five coats of Minwax's spar urethane. Took three coats just to quench the wood's thirst. The first three coats were tinted with Minwax's oak and sedona red stain. The top two coats were straight urethane.
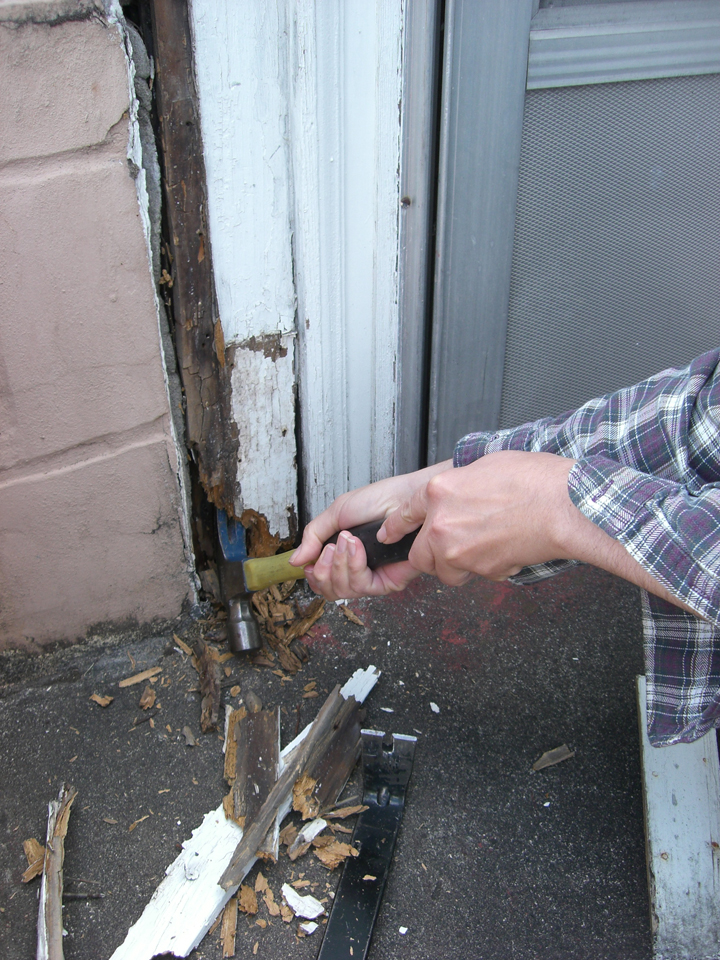
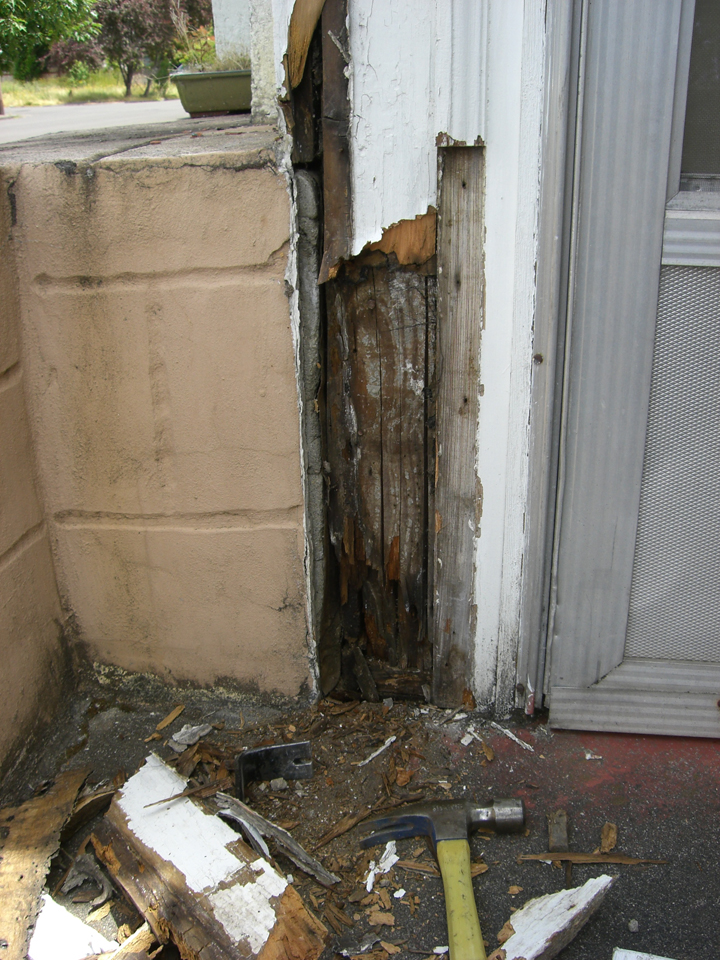
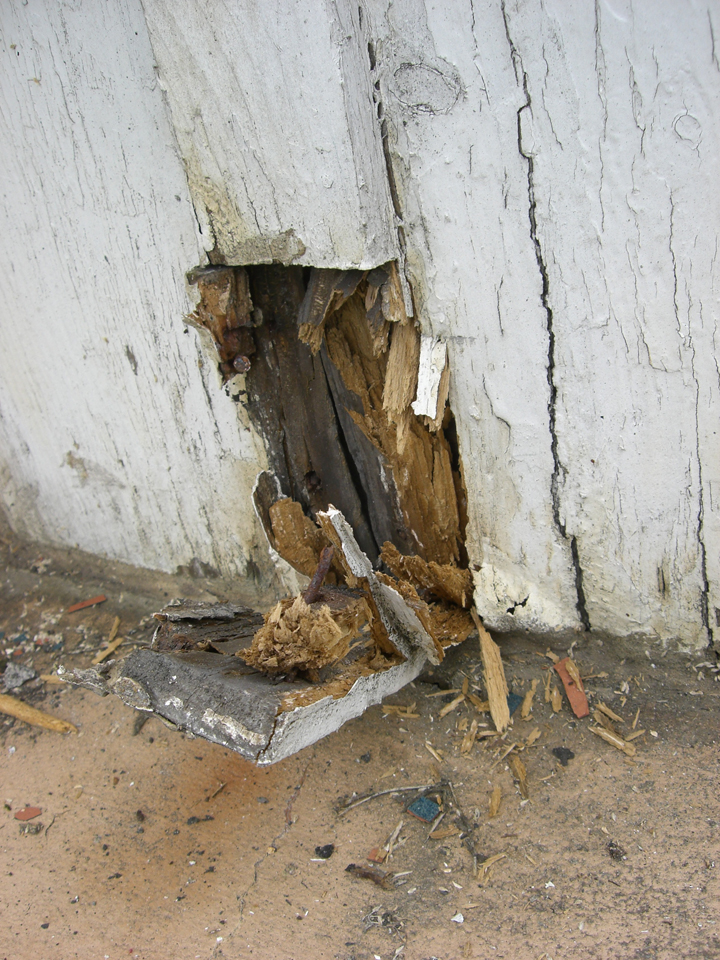
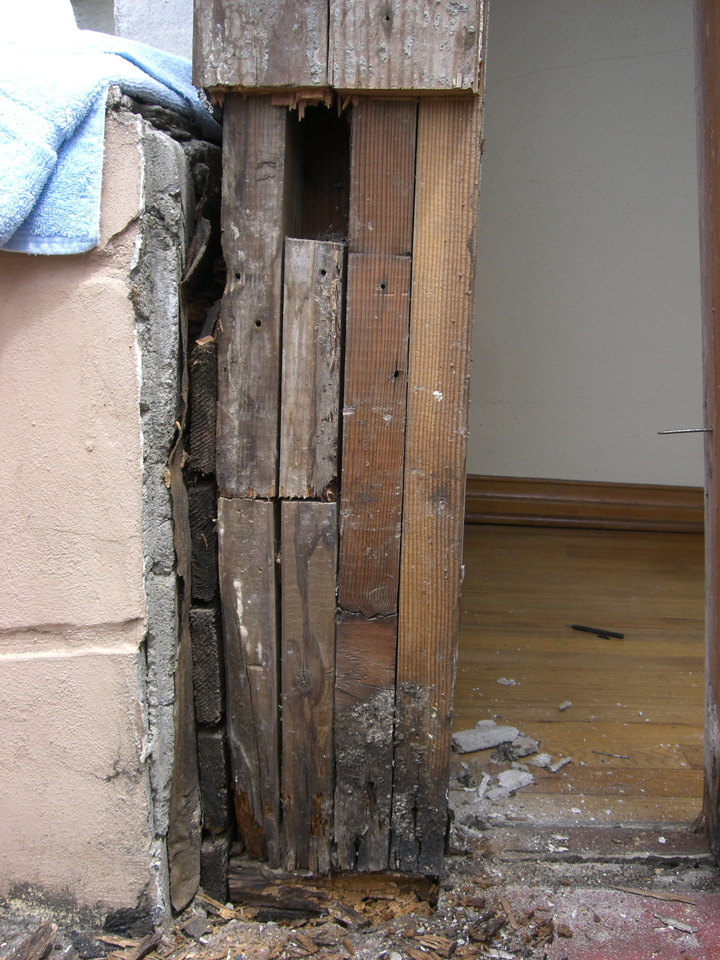
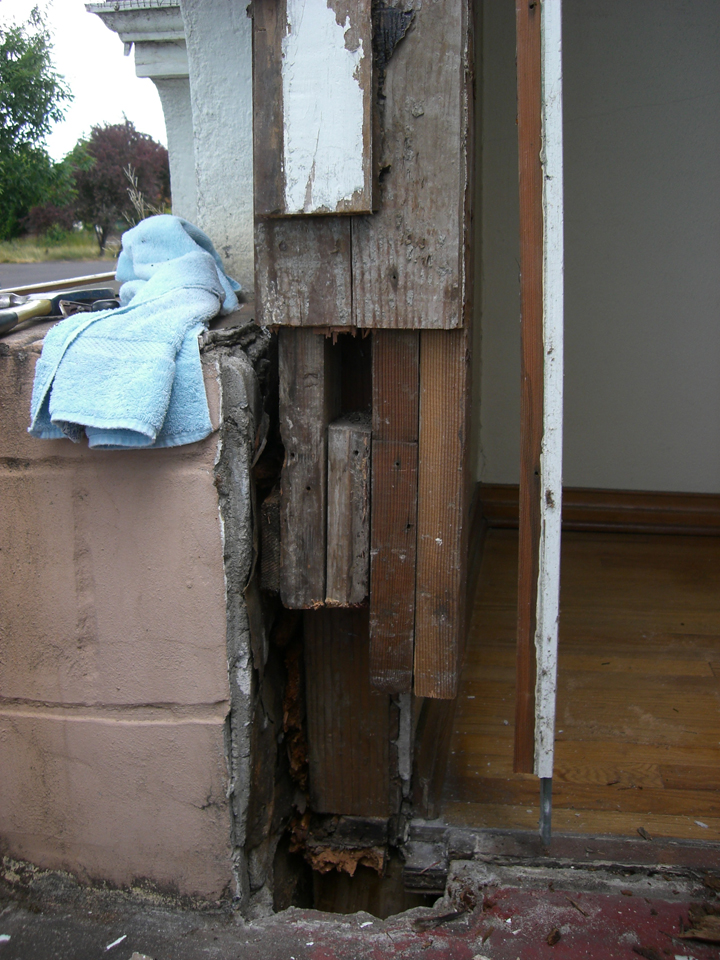
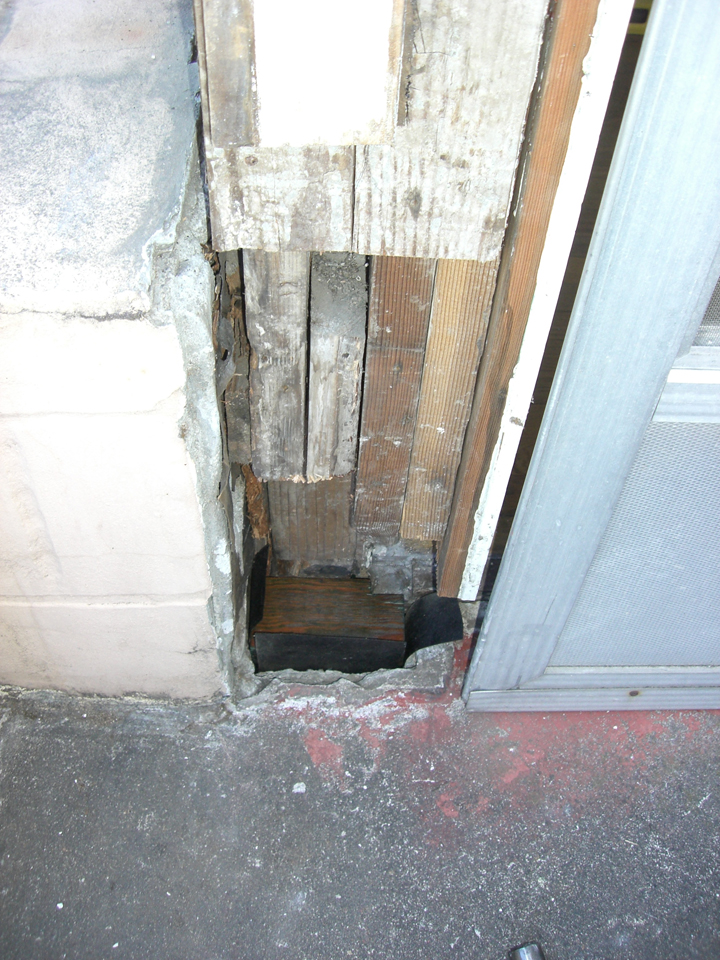
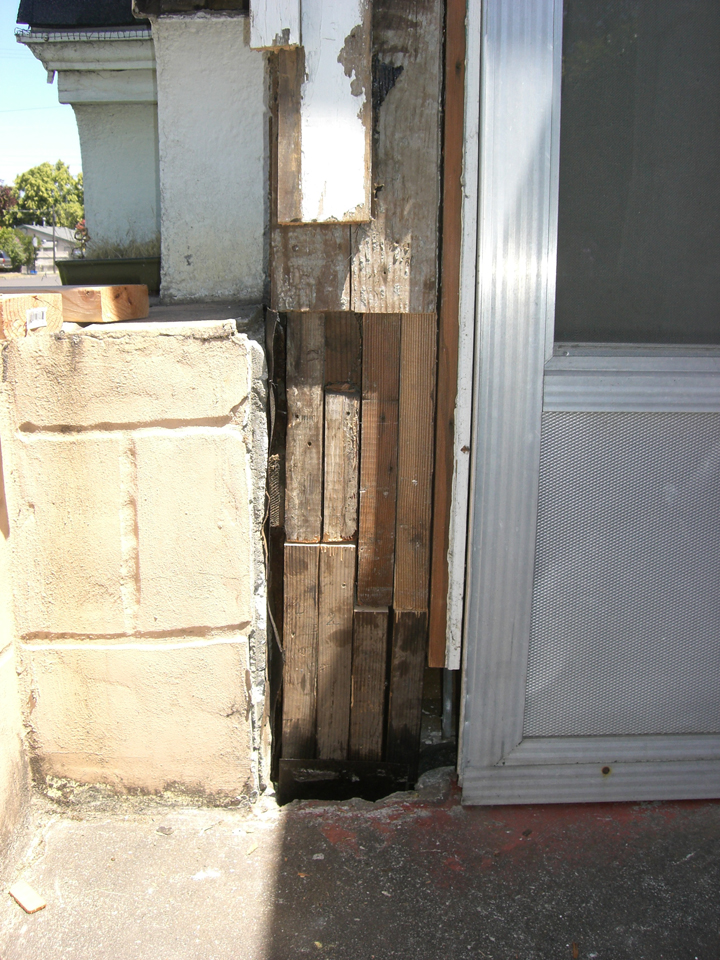
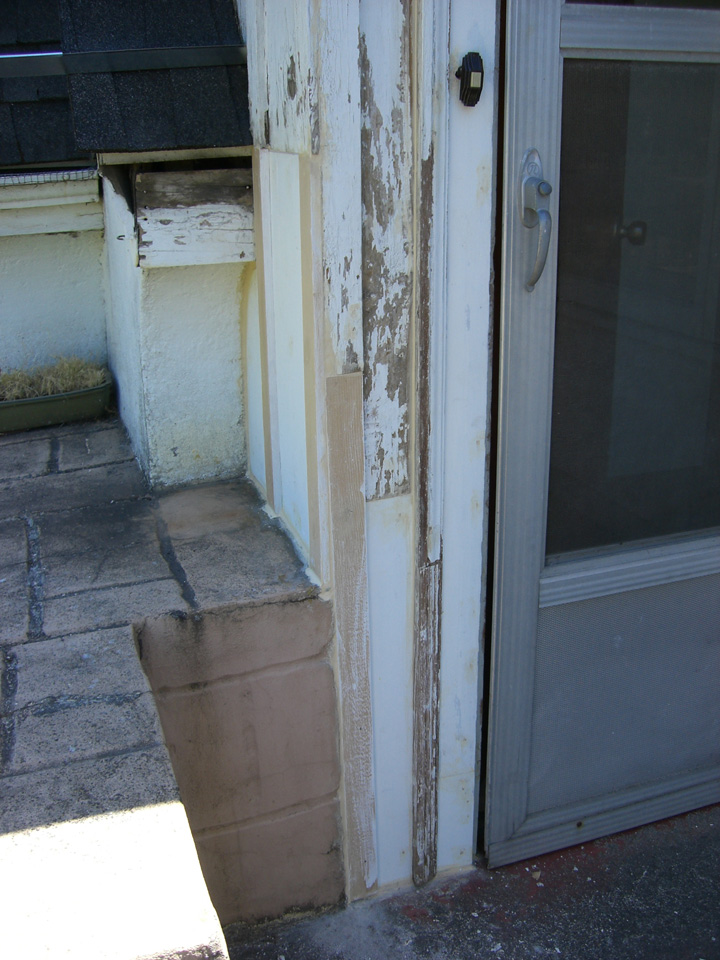
Unfortunately, the refinishing of the door evolved into a demolition and reconstruction of the corner of the house. The bottom six inches of corner studs were rotted and the sill was gone. Cladding and sheathing were also rotted. Direct contact with wet masonry did the wall no service.
We cut off the rotted portions of the studs leaving the wall floating. Luckily a rim joist that had been replaced with the masonry wall about a decade ago continued to support the wall and roof structure.
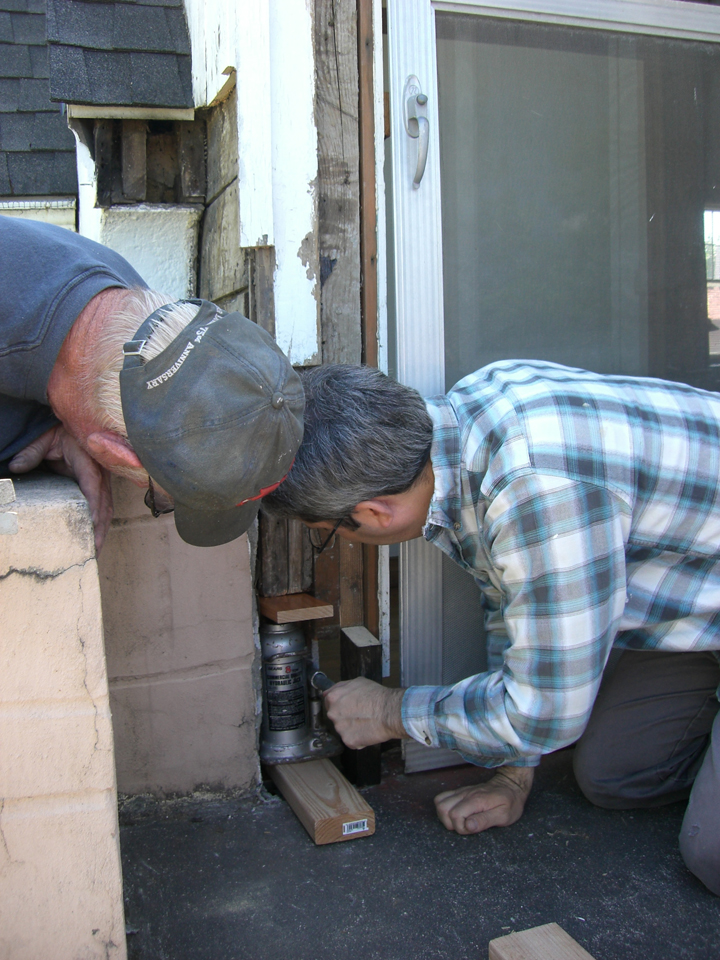
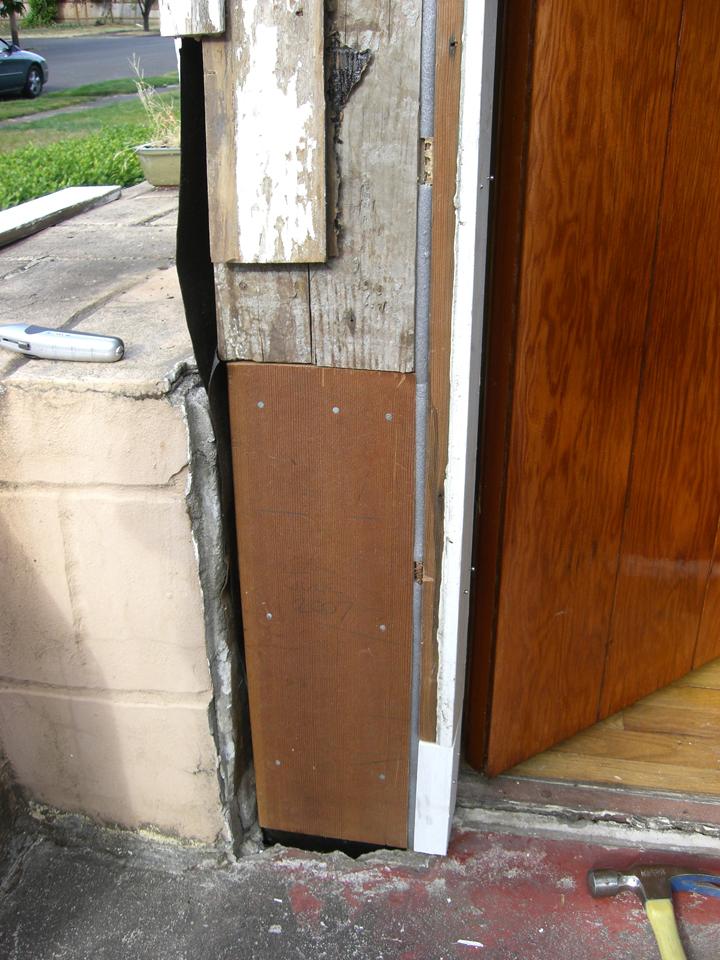
The corner had sunk about 5/8", so we jacked it back up and inserted the new stud ends.
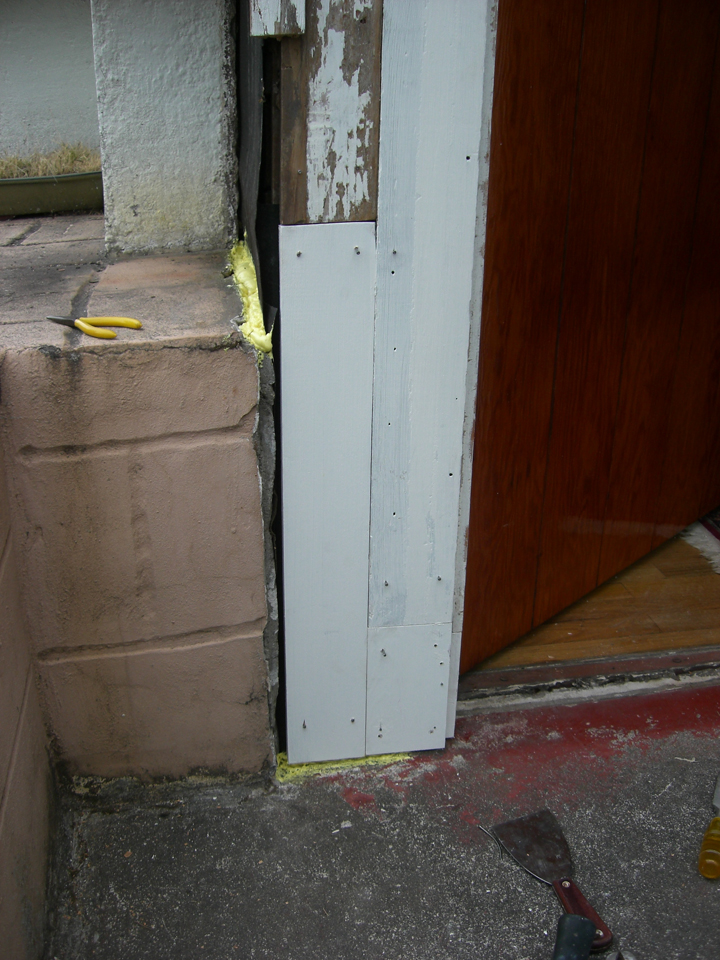
All new structural fir was soaked in Copper-Green wood preservative and wrapped in 30lb tar paper. Spray foam filled the large voids below the masonry surfaces. The cladding pieces are old fir primed on both sides and held up from the concrete by 1/4". In the 1/4" gap went a backer rod and then lots of caulk.
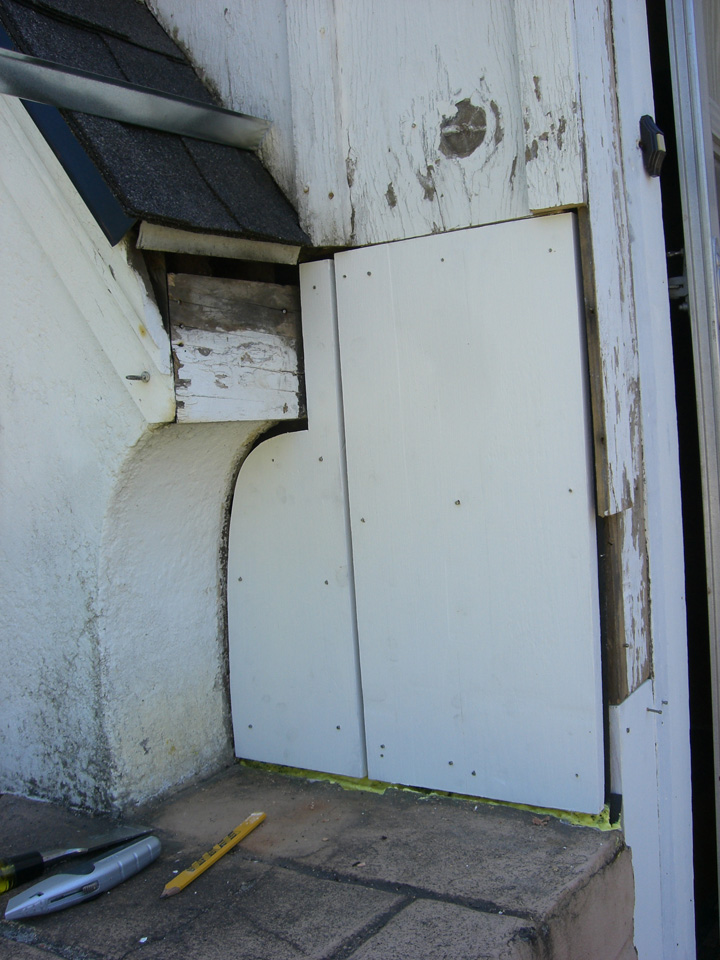
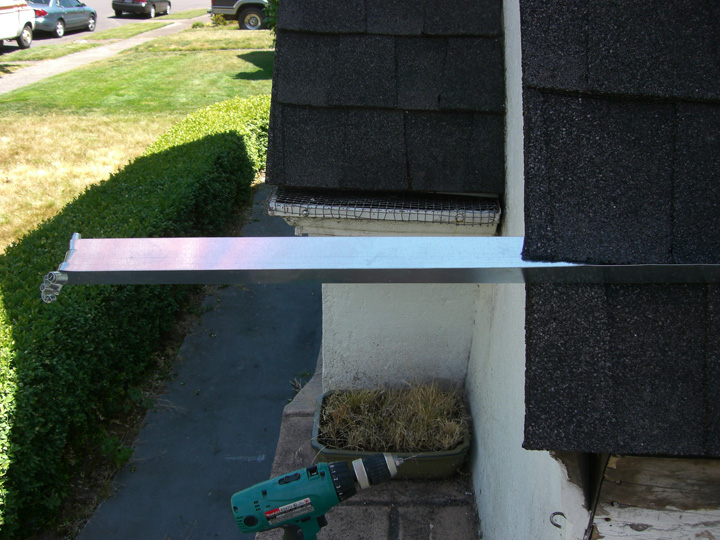
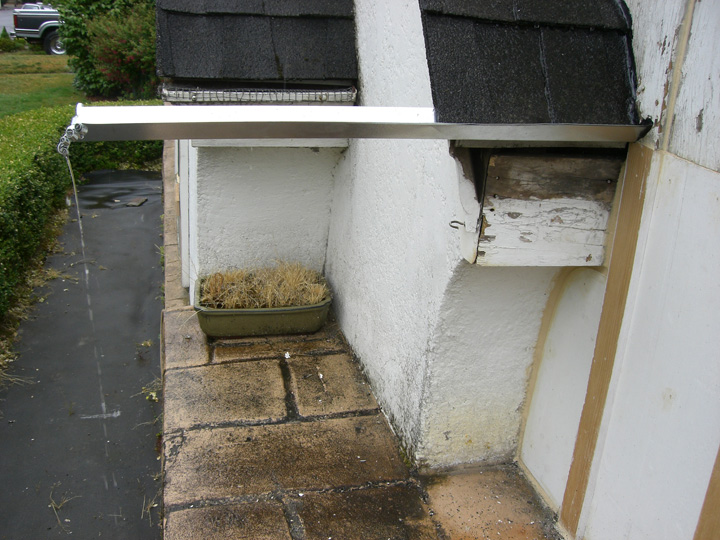
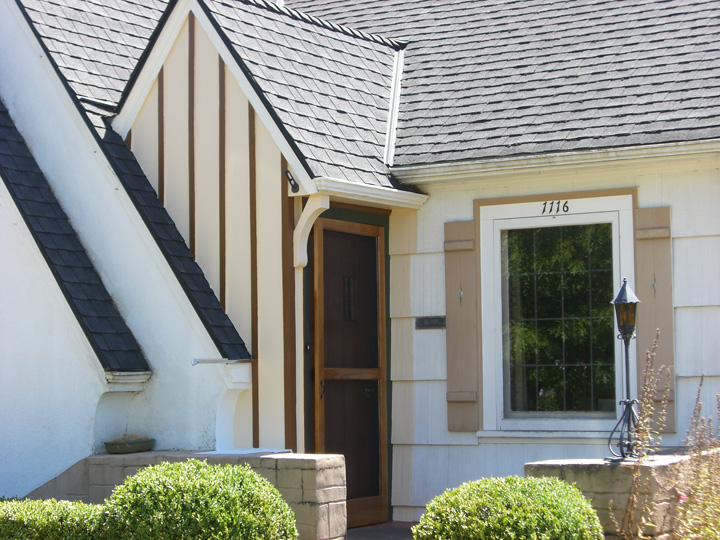
To temporarily substitute for a gutter, we installed a piece of flashing as a rain diverter. Since the gutter was not attached to a downspout, we may keep the diverter as it runs rain water out past our faux stone wall. The gutter was our trouble spot splashing water all over the joint between masonry and wood. We'll probably replace it with a piece of copper flashing, however, to blend in better. We curled back the end to prevent injury.
Next went in the oak threshold while the new screen door is being urethaned. The threshold color was supposed to match the door but it ended up matching neither the door or the floor. We finally removed the 1960s aluminum screen door and stuck it in the garage with all of its parts in case one day it becomes worth something.
Primed out the entry area and started the painting. Choosing colors for the house has been a three-year-long process.
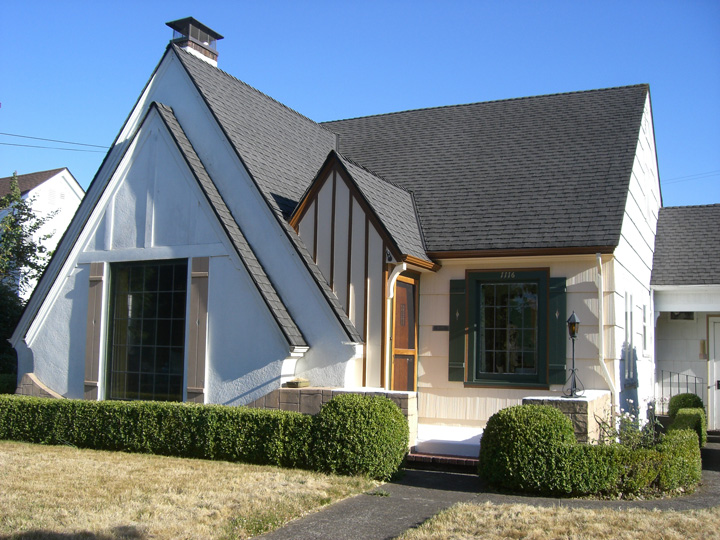
Next we urethaned up a cheap screen door from Home Depot (our sole hardware choice in Albany, a town of 45,000). The green door casing led us naturally to brown for the moulding framing the casing.
And the brown moulding led us to brown battens with a cream body color, a traditional Tudor paint palette.
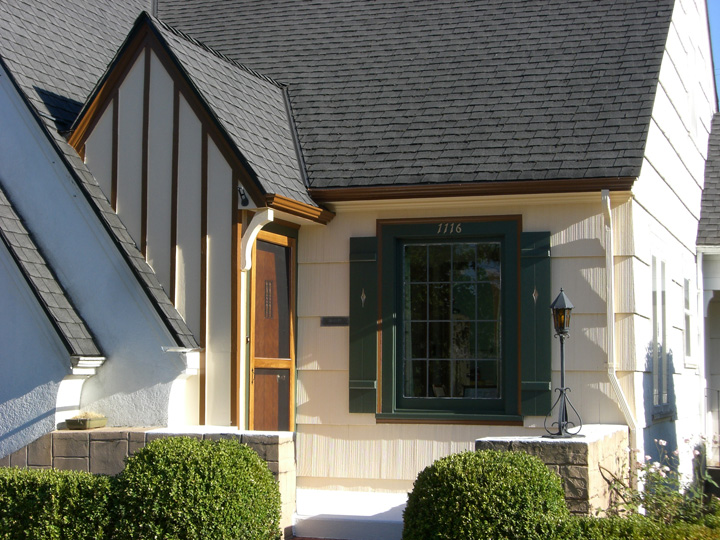
Next we get to figure out what colors to paint the stucco, the raked wood shingles, the cornice moulding, the gutters, the faux stone wall, the porch, and the shutters. Difficult to stay away from going Victorian with the color scheme! Here's what we've got going so far. Figured brown for the cornice moulding, dark green for the shutters and casing, and continuing with cream for the body color. Trying not to complicate the color scheme too much. The porch has been water proofed with Zinsser's Watertite and is currently curing for 14 days before we paint it brick red. Brick red is the color that the porch was before and is the only color we're repeating on the entire house. (So far we've only found white on the house with royal blue under the beige on the shutters.)
And we're still on the door hardware hunt. Our large, free-standing porch light has the wrought iron look that we're going to try to evoke in the door hardware. Difficult to find in a price we can afford, however. Modified: 08/19/2015 |